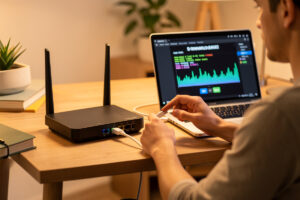
Installing OpenWrt takes about twenty minutes: confirm your exact router model and revision on the Table of Hardware, download the matching factory image, upload it through your stock firmware’s update page, and connect to the fresh system at 192.168.1.1. The whole process is low-risk on supported hardware if you verify the image and know your recovery path first.
I have flashed enough routers — the access points on my trunk, the travel router in my bag, the spare boxes I keep for testing — that the sequence is muscle memory now. This walkthrough is exactly the order I follow, including the two checks that separate a clean flash from a panicked evening with a serial cable. If you want the wider context for what OpenWrt is and why it is worth this effort, start with the OpenWrt guide.
Step 1: Confirm Your Router Is Supported
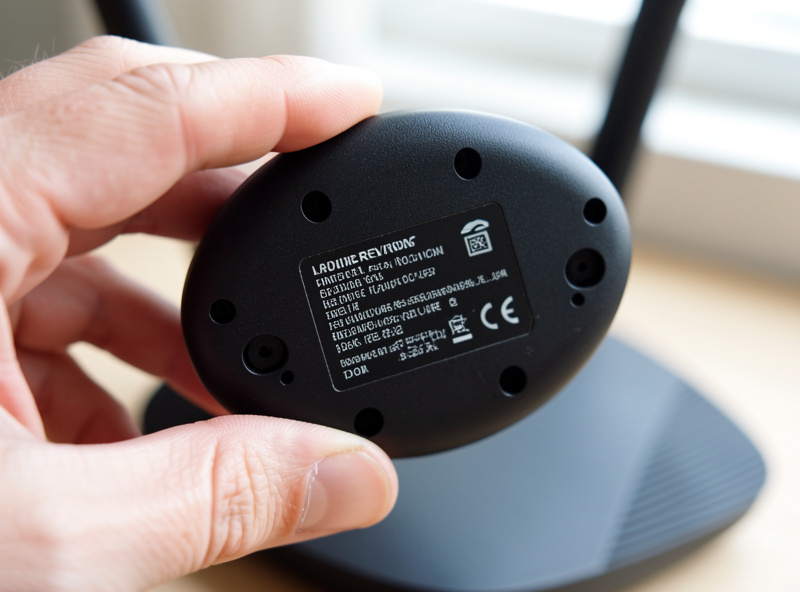
Before you download anything, find your router on the OpenWrt Table of Hardware — and match the revision, not just the model name. Manufacturers reuse a product name across completely different internal boards: a TP-Link Archer C7 v2 and a v5 take different images, and the hardware revision is usually printed on the sticker underneath the router next to the serial number.
While you are there, note the flash and RAM figures. A device with 16 MB of flash and 128 MB of RAM gives you room to install WireGuard, SQM, and ad-blocking later; an 8 MB device boots but leaves almost nothing for packages. If your current router is marginal, it is worth reading my picks for the best routers for OpenWrt before you flash a dead end.
Step 2: Download the Right Image (Factory vs sysupgrade)
OpenWrt offers two image types per device and the difference matters. The factory image is the one you use for the very first install — it is packaged to be accepted by the stock manufacturer firmware’s own upgrade page, or pushed over TFTP. The sysupgrade image is for later, once OpenWrt is already running and updates itself.
Use the official OpenWrt Firmware Selector, type your exact model, and it hands you the correct stable release — the 23.05 or 24.10 series — with both image links. Download the factory image for a first install. Verify the file’s checksum against the one published on the download page; it takes ten seconds and it is the cheapest insurance against a corrupted download that bricks the flash halfway through.
Step 3: Back Up the Stock Firmware and Your Settings
Two backups before you flash. First, note down or screenshot your ISP connection settings — connection type (DHCP or PPPoE), any username and password, and your Wi-Fi name — because OpenWrt will not carry them over and you will want them in twenty minutes. Second, if your router model has a way to export its stock firmware or a vendor recovery image, save it; on some devices that is your route back if you ever want to return to factory firmware.
This is also the moment to physically locate your recovery option. Most supported routers have a TFTP recovery mode or a failsafe you reach by holding the reset button during boot. Knowing it is there — and ideally testing it once — turns a failed flash from a disaster into a five-minute reset.
Step 4: Flash the Factory Image
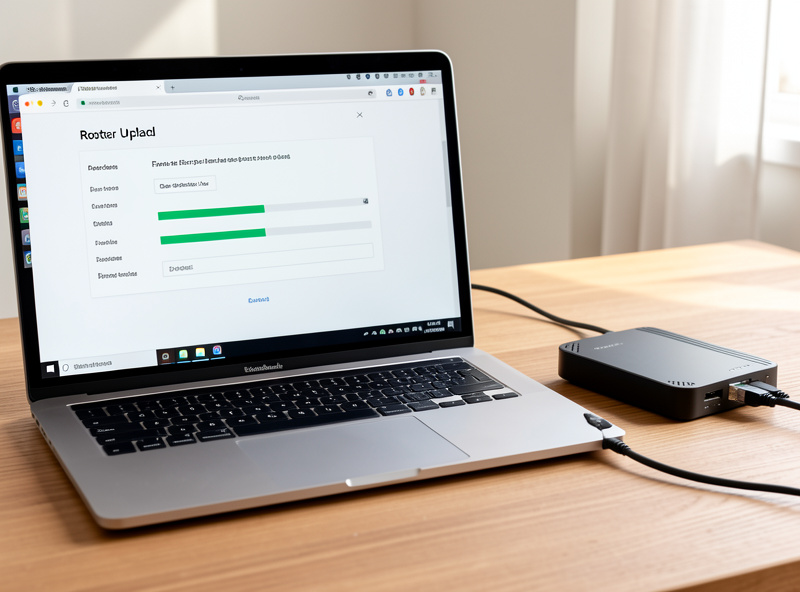
Connect your computer to a LAN port by Ethernet — never flash over Wi-Fi, because a dropped wireless connection mid-write is exactly how a flash goes wrong. Log into the stock firmware’s admin page, find the firmware-upgrade or update section, and upload the OpenWrt factory image as though it were a manufacturer update. The router accepts it, writes it, and reboots.
Some devices reject a third-party image through the normal web upload and require TFTP recovery instead: you set a static IP on your computer, put the router into recovery mode, and the bootloader pulls the image from a local TFTP server. The Table of Hardware page for your device tells you which method it needs — follow the device-specific install notes there to the letter, because this one step is the only genuinely model-specific part of the whole process.
Step 5: First Boot and Logging In
Give the router two or three minutes after the flash — the first boot writes its filesystem and takes longer than a normal restart. Then, with your computer still on a LAN port, browse to 192.168.1.1. You will land on LuCI, the OpenWrt web interface, logged in as root with no password.
Do not be alarmed that Wi-Fi is dead and there is no internet yet. OpenWrt deliberately boots with the radios disabled and only the wired LAN active — that is the secure default, not a failed install. Your three immediate jobs are: set a root password under System → Administration, configure the WAN interface with the ISP settings you saved earlier, and confirm you have internet on the wired side before touching anything wireless.
Step 6: Bring Up Wi-Fi and Lock It Down
With WAN working, go to Network → Wireless. Set the country code first — it ships blank, which quietly throttles your transmit power and limits the channels you can use. Then edit the radio, set the SSID, choose WPA3 (or WPA2-PSK if you have older clients), set a strong passphrase, and enable the interface. Save and apply commits it with a rollback timer, so if you fat-finger something and lose contact, the router reverts on its own rather than stranding you.
That is a working OpenWrt router. From here the real value is in what you add: segmentation, a VPN, and bufferbloat control. The natural next step for most people is building proper VLANs — my OpenWrt VLAN configuration guide picks up exactly here. If you are weighing whether the effort was worth it against just keeping the firmware you had, OpenWrt vs stock firmware lays out the trade honestly.
If Something Goes Wrong
The most common “it bricked” is not a brick at all — it is a router that booted fine but is no longer at the address you expected, because OpenWrt resets the LAN to 192.168.1.1. Renew your computer’s DHCP lease or set a static address in that subnet and try again before assuming the worst.
If the device truly will not respond, this is where your recovery homework pays off: drop into failsafe mode (usually by tapping the reset button as the power LED flashes during boot), which brings the router up at 192.168.1.1 in a minimal state you can reach over Ethernet, and re-flash a sysupgrade image from there. The boxes that survive every mistake are the ones with a dependable TFTP or U-Boot recovery, which is one more reason hardware choice matters more than people expect. For the platform context behind all of this — how OpenWrt compares with the full firewall operating systems — see my router OS comparison.
Frequently Asked Questions
How long does it take to install OpenWrt?
About twenty minutes for the flash itself: a few minutes to confirm your model and download the factory image, a minute or two to upload it, and three minutes for the first boot. Configuring Wi-Fi, WAN, and a password adds another ten.
Will installing OpenWrt void my router warranty?
It can, since you are replacing the manufacturer firmware. Most home users flash routers that are already out of warranty or cheap enough not to matter. If the warranty is important to you, buy a dedicated OpenWrt target rather than flashing your primary device.
What is the difference between a factory and sysupgrade image?
The factory image is for the first install and is built to be accepted by your stock firmware or TFTP. The sysupgrade image is for updating a device already running OpenWrt. Using the wrong one is refused or causes a boot problem, so match the image to the situation.
Can I go back to the original firmware after installing OpenWrt?
Usually yes, by flashing the manufacturer’s stock firmware image through OpenWrt’s sysupgrade or via TFTP recovery. Save your vendor firmware image before you flash OpenWrt so you have it if you want to revert later.
Why is there no Wi-Fi after I install OpenWrt?
That is intentional. OpenWrt boots with radios disabled and only the wired LAN active as a secure default. Connect by Ethernet to 192.168.1.1, set a root password, then enable and configure the wireless yourself under Network and Wireless.
Related Guides
- The OpenWrt Guide (Start Here)
- Best Routers for OpenWrt in 2026
- OpenWrt VLAN Configuration
- OpenWrt vs Stock Firmware
- SQM and QoS on OpenWrt