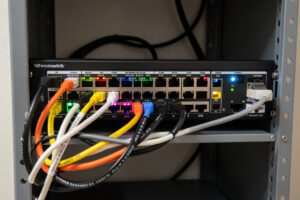
A NAS belongs on its own network segment with a static IP, reachable only by the devices that need its shares and walled off from the ones that don’t — not parked on the flat LAN where every smart bulb and guest phone can see it. The box holding your backups and photos is exactly the one you don’t want a compromised IoT gadget to reach, so getting its network placement right is as much a part of the build as the pool layout. In my setup the NAS sits on a storage VLAN, hands out SMB and NFS shares to trusted clients, and has no path to the internet except for updates.
This is the NAS-side networking guide under the home NAS guide — the static IP, the share protocols, the VLAN placement, and remote access done safely. It’s deliberately scoped to the NAS: how the box itself sits on the network, not how to build the whole segmented network around it. For that broader job, my home network VLAN guide is the full segmentation walkthrough, and this slots a storage box neatly into it.
Give the NAS a Static IP
A NAS needs a fixed address so the clients, backups, and mounts that depend on it never lose track of where it lives. The clean way to do it is a DHCP reservation on your router or firewall — you tie the NAS’s MAC address to a permanent IP, so the box always comes up on the same address without you hand-configuring it on the NAS itself.
You can set a static IP directly on the NAS, but I prefer a DHCP reservation because it keeps all the addressing in one place — the firewall — where I also write the rules. Either way, the requirement is the same: the NAS must be predictable, because every SMB mount, every NFS export, every backup job, and every firewall rule references it by address. A NAS that drifts to a new IP after a reboot breaks all of those silently. Pick an address inside your storage segment, reserve it, and document it alongside the rest of your static assignments. This is the same discipline I apply to every piece of infrastructure on the network — APs, switches, the firewall itself all get fixed addresses.
A local DNS name on top of the static IP is the finishing touch I’d recommend. Mounting shares by a friendly hostname rather than a raw IP means that if the address ever does change, you update one DNS record instead of hunting down every mount and backup job that hard-coded the number. I run local DNS for the lab so the NAS answers to a name on the internal network, and the static reservation underneath guarantees that name always resolves to the same box. It’s a small thing that saves real time the day you reorganize the addressing — and it keeps backup scripts readable, because a hostname tells you what the target is at a glance where an IP tells you nothing.
SMB vs NFS: Which Shares to Serve
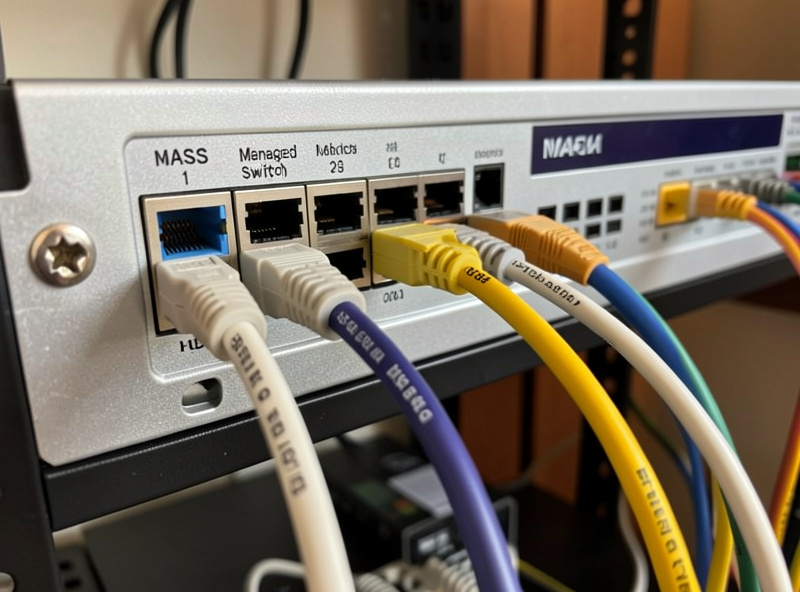
Serve SMB for your Windows, Mac, and general-purpose clients, and NFS for Linux machines and hypervisor datastores — most home NAS setups run both, each pointed at the clients it suits. SMB is the universal file-sharing protocol with the broadest device support; NFS is leaner and a natural fit for Unix-like systems and VM storage.
The practical split on my network: SMB shares for the laptops, the media clients, and anything Windows touches, because SMB “just works” across the widest range of devices and handles permissions in a way Windows expects. NFS for the Proxmox host’s backup datastore and Linux VMs, because it’s low-overhead and integrates cleanly with how those systems mount storage. You can absolutely serve the same dataset over both, but I usually keep them purpose-split to avoid permission tangles between the two protocols’ very different models. The one rule that overrides the protocol choice: neither SMB nor NFS should ever be exposed to the internet — both are LAN protocols, and the moment one faces the open internet you’ve built a liability, not a convenience.
| Protocol | Best clients | Strengths | Use it for |
|---|---|---|---|
| SMB | Windows, Mac, general | Broadest support, familiar permissions | Laptops, media clients, shared folders |
| NFS | Linux, hypervisors | Low overhead, clean Unix integration | VM datastores, Proxmox backups, Linux mounts |
Putting the NAS on Its Own VLAN
The NAS should live on a dedicated storage VLAN, reachable from the trusted clients and hypervisors that need its shares and blocked from IoT, guest, and untrusted segments. This is the step that turns “a box on the network” into “a protected box,” and it’s where the segmentation strategy from the rest of the network pays off for storage specifically.
Here’s the logic I run. The NAS sits on its own segment. Firewall rules allow exactly the clients that need it — my workstations, the Proxmox host — to reach its SMB and NFS ports, and deny everything else by default. The IoT VLAN, full of cheap devices I don’t trust, has no route to the storage segment at all; a compromised smart plug simply cannot see the NAS. The guest network is even more isolated. This default-deny, allow-list posture is the same one I apply across the whole network, and the specific recipes live in my VLAN firewall rules guide — the NAS is just one more thing those rules protect. Getting the NAS onto a tagged segment cleanly is a switch-port question, which the managed switch setup walks through; you want the NAS’s port either as an access port on the storage VLAN or correctly tagged if the box itself does VLAN tagging. And if you’ve separated your hobbies and devices into trust zones the way I have, the storage segment is simply the most important one to seal — it’s where the data everything else depends on actually lives, which is the whole point of the network segmentation approach.
Remote Access Without Exposing the NAS
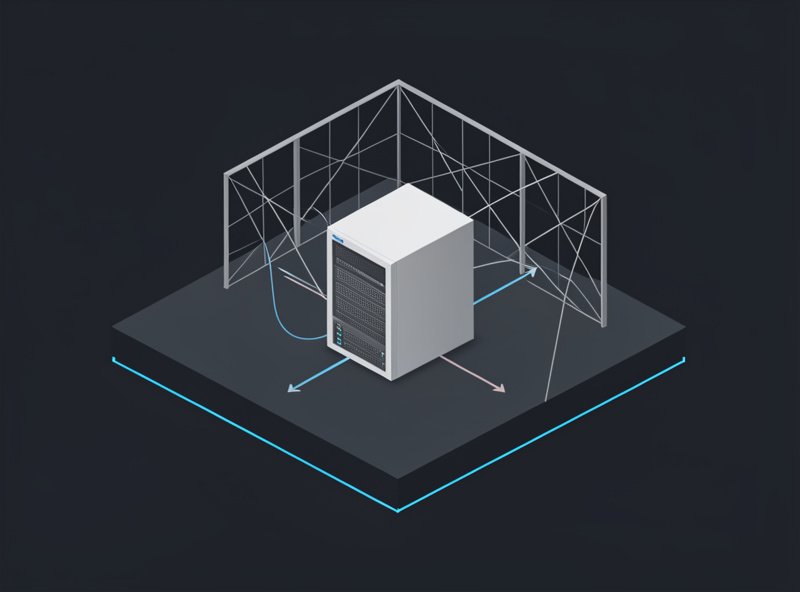
To reach your NAS from outside the house, use a VPN like WireGuard — never a port-forward that exposes SMB, NFS, or the NAS web interface to the internet. A VPN drops your remote device onto the network as if it were home, so you reach the shares over the same private path, while the NAS itself stays completely invisible from outside.
This is the part people get dangerously wrong. The temptation is to forward a port so you can grab a file from work, but exposing a NAS’s management interface or a file-sharing protocol to the open internet is how NAS boxes end up in ransomware headlines — these are LAN protocols that were never meant to face the internet, and the appliance vendors’ own breach histories prove it. The right pattern is a WireGuard tunnel terminated on the firewall: you connect the tunnel, you’re on the home network, and the NAS serves you exactly as it would from the couch — no NAS port ever touches the public internet. I run remote access this way for everything, and the NAS is no exception. If you want a hardware anchor for the wired side of all this, a managed switch with PoE for the rest of the gear pairs naturally with the storage build; a solid managed PoE switch is the kind of box that ties the segment together. Keep the NAS behind the VPN, on its own VLAN, with a static IP, and it becomes what good storage should be: always there, never exposed.
A Word on Throughput
A single gigabit link caps real-world transfers around 110 MB/s, which is plenty for backups and streaming but a real ceiling if you edit video off the NAS or back up several machines at once. If gigabit is your bottleneck, the fix is a faster NIC in the NAS and the workstations that talk to it — but remember the pool has to be able to feed the faster wire, or the disks become the new bottleneck.
This is squarely a NAS-side decision, not a whole-house re-cabling project: you put a faster card in the NAS, a matching card in the one or two machines that move big files, and a switch port that supports the speed between them. The catch I flag in the main guide is that a couple of spinning drives can’t saturate a fast link no matter how good the NIC is, so multi-gig off a NAS only pays off with enough spindles or an SSD pool behind it. Decide what the pool can deliver first, then size the link — that keeps this a storage upgrade rather than a budget sinkhole, and it leaves the question of a full multi-gig network for the day you actually need it everywhere.
Link aggregation is the option people reach for before a faster NIC, and it’s worth understanding what it does and doesn’t do. Bonding two gigabit links (LACP) to the NAS raises aggregate throughput across multiple simultaneous clients, but a single transfer still rides one link and tops out at gigabit — so LACP helps a NAS serving several machines at once, not one workstation pulling a huge file. On my network I aggregate links where many clients hit the same box, and I reach for a genuinely faster single NIC where one machine needs raw single-stream speed. Knowing which problem you actually have — many clients versus one fast client — tells you whether to bond gigabit links or jump to a faster card, and it stops you spending money on the wrong fix.
Related Guides
- Home NAS Setup Guide
- Home Network VLAN Guide
- VLAN Firewall Rules
- Managed Switch Setup
- Network Segmentation
Disclosure: some links on this page are Amazon affiliate links. If you buy through them I may earn a small commission at no extra cost to you — it never changes what I recommend.