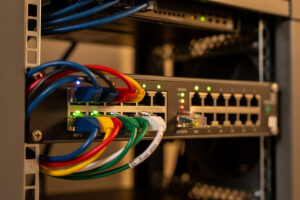
Managed switch setup is the step where most home VLAN projects stall, and it comes down to one concept executed cleanly: which ports are trunks carrying tagged VLANs, and which are access ports serving one untagged device. Get tagging and PVID right and a managed switch is genuinely easy. I run a UniFi/MikroTik/Omada-class managed switch on the trunk to my OPNsense box, and the entire VLAN fabric of the house passes through a single tagged uplink.
An unmanaged switch cannot do any of this — it has no concept of 802.1Q tags, so it cannot separate or carry VLANs. The jump to a managed switch is the hardware prerequisite for everything in the home network VLAN guide. This is the configuration walkthrough: trunk versus access, tagged versus untagged, the PVID setting everyone forgets, and the link-aggregation bonus once the basics work.
Why You Need a Managed Switch for VLANs
A managed switch understands 802.1Q VLAN tags, so it can carry multiple isolated networks over one cable and decide per-port which VLANs each device sees. An unmanaged switch treats every frame identically and strips nothing, so it physically cannot enforce or transport VLAN separation. If you want segmentation, the managed switch is non-negotiable.
The good news is you do not need an enterprise switch. For a home, a managed L2 switch — UniFi, MikroTik, or TP-Link Omada class — is plenty, and even cheap “smart managed” switches with a basic web UI handle VLANs fine. What you are paying for is the ability to set, per port, whether VLANs are tagged or untagged and which VLAN is the port’s native one. That single capability is the whole reason the switch exists in this build. If you are still choosing hardware, my DIY router hardware guide covers how the switch pairs with the firewall.
Trunk Ports vs Access Ports
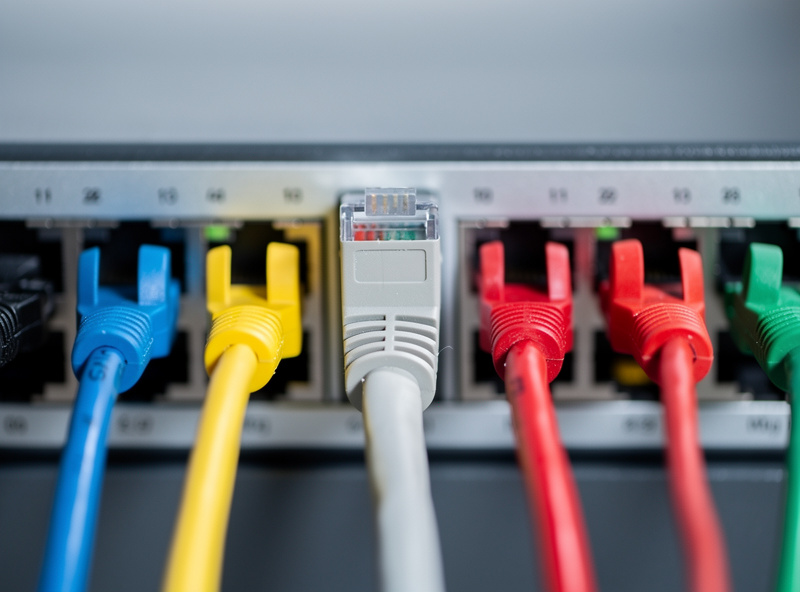
A trunk port carries multiple VLANs at once, tagging each frame with its VLAN ID; an access port carries exactly one VLAN, untagged, for a single end device. The link from switch to firewall is a trunk; the link from switch to a laptop is an access port. Almost every “my VLAN does not work” problem is a port set to the wrong one of these two roles.
Think of it physically. The cable between the managed switch and the firewall must carry every VLAN — TRUST, GUEST, IOT, all of them — so it is a trunk, and each VLAN is tagged on it so the firewall can tell them apart. The cable to a desktop carries only that desktop’s VLAN, and the tag is stripped so the desktop, which knows nothing about VLANs, just sees a normal network. A second switch or a VLAN-aware access point downstream connects via another trunk, because it too needs to carry multiple VLANs onward.
Tagged, Untagged, and the PVID Trap
Tagged means the frame leaves the port carrying its VLAN ID per the IEEE 802.1Q standard; untagged means the port belongs natively to one VLAN and adds no tag. PVID (Port VLAN ID) is the setting that tells an access port which VLAN to assign to incoming untagged traffic — and forgetting to set it is the single most common managed-switch mistake. On most switches you set both: which VLANs are tagged/untagged on the port, and the PVID.
Here is the rule I follow per port type:
- Access port (to a laptop, printer, console): the port is untagged on its one VLAN, and its PVID is set to that same VLAN ID. Both halves matter — untagged egress and PVID ingress.
- Trunk port (to the firewall or another switch): every VLAN you want to carry is tagged, and the native/management VLAN is usually left untagged with the PVID set to it.
The PVID trap goes like this: you set a port untagged on VLAN 60 for an IoT device but leave the PVID at the default VLAN 1. The device’s untagged traffic gets stamped VLAN 1 on ingress, lands on the wrong network, and you spend an hour wondering why it has no DHCP. Always set PVID to match the access VLAN. The terminology varies — Cisco says “access/trunk,” HP and others say “untagged/tagged,” UniFi hides it behind “native VLAN” and port profiles — but the underlying mechanism is identical.
My Managed Switch Configuration Walkthrough
The setup is a fixed five-step sequence: create the VLANs on the switch, configure the firewall uplink as a tagged trunk, set each device port as an untagged access port with the right PVID, save, and verify. Do these in order and a VLAN-capable switch is configured in about ten minutes.
- Create the VLANs in the switch’s VLAN table — the same IDs as on the firewall (10, 20, 50, 60, etc. in my map).
- Trunk to firewall: on the uplink port, tag every VLAN that needs to reach the firewall. This is the one trunk that carries the whole network.
- Access ports: for each device port, set it untagged on its VLAN and set the PVID to match. The IoT camera port is untagged VLAN 60, PVID 60; the desktop port is untagged VLAN 20, PVID 20.
- AP trunk: if a VLAN-aware access point hangs off the switch, that port is also a trunk — tag the SSID-mapped VLANs (GUEST, IOT, TRUST) so each wireless network reaches its VLAN. If you are powering the AP directly from the switch, see the PoE for access points guide on budget and wattage requirements before buying.
- Save and verify the running config persists across reboot, then test that each port lands its device on the right subnet.
Once the switch is tagging correctly, the firewall rules do the rest — the VLAN firewall rules guide picks up exactly where the switch hands off. And remember the whole point of tagging cleanly is so segments like the isolated guest VLAN reach the firewall intact.
Choosing a Managed Switch: What Actually Matters
For VLANs, any switch with 802.1Q support works, but a few features earn their keep at home: enough ports, PoE for access points, and L3 routing only if you want the switch (not the firewall) to route between VLANs. The table below is how I think about the tiers — most home builds are perfectly served by a basic managed L2 unit.
| Switch class | VLAN support | PoE | Inter-VLAN routing | Best for |
|---|---|---|---|---|
| Unmanaged | None | Varies | No | Not usable for VLANs |
| Smart / web-managed L2 | 802.1Q | Some models | No (firewall routes) | Most home VLAN builds |
| Full managed L2 (UniFi/Omada) | 802.1Q + profiles | Common | No (firewall routes) | Multi-AP homes, clean UI |
| L2/L3 managed | 802.1Q + routing | Common | Yes (switch routes) | 10GbE cores, high inter-VLAN throughput |
I route between VLANs on the firewall, not the switch, because it keeps the security policy in one place — every inter-VLAN packet passes the firewall ruleset. L3 switches route in hardware for higher throughput but then your inter-VLAN traffic bypasses the firewall unless you design carefully, which is a tradeoff most homes do not need. Keep it simple: L2 managed switch, firewall does the routing and the rules.
Link Aggregation: The Bonus Once Basics Work
Link aggregation (LACP) bonds two or more cables between switch and server into one logical link for more bandwidth and redundancy. It is not required for VLANs, but once your tagging is solid it is a worthwhile upgrade for the link to a busy NAS or the Proxmox host. I run LACP to the host where it earns its keep, and leave it off everywhere it does not.
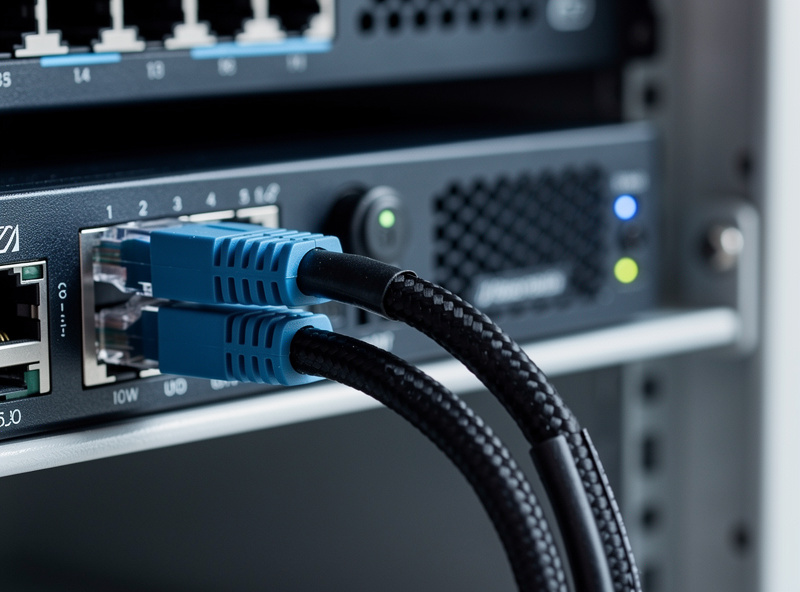
The thing to know is that LACP and VLAN trunking stack: a bonded link can also be a tagged trunk, carrying every VLAN across two physical cables. You configure the aggregation group on both ends (switch and host), then treat the resulting bond like any other trunk port for tagging. Do not bother with it until single-link VLANs work end to end — adding aggregation to a misconfigured trunk just gives you two ways to be wrong. Put the core switch and firewall on a UPS while you are at it; my UPS sizing guide explains why the switch should outlive a brownout, and the broader network segmentation plan shows where the switch sits in the whole design.
Frequently Asked Questions
What is a managed switch setup for VLANs?
A managed switch setup configures each port as either a trunk carrying multiple tagged VLANs or an access port serving one untagged VLAN. You create the VLAN IDs in the switch, tag them on the firewall uplink trunk, and set device ports as untagged access ports with a matching PVID. This lets one switch carry several isolated networks.
Do I need a managed switch for VLANs?
Yes. An unmanaged switch has no concept of 802.1Q tags and cannot carry or separate VLANs. You need a managed or smart-managed L2 switch that lets you set tagged and untagged VLANs per port. For a home, a basic web-managed switch is plenty; you do not need an expensive enterprise unit to run VLANs.
What is the difference between a trunk port and an access port?
A trunk port carries multiple VLANs at once, tagging each frame with its VLAN ID, and connects switches to firewalls or other switches. An access port carries exactly one VLAN, untagged, and connects a single end device like a laptop or printer. The device on an access port never sees the VLAN tag.
What is PVID on a managed switch?
PVID, or Port VLAN ID, tells an access port which VLAN to assign to incoming untagged traffic. On an access port you set it to match the port’s VLAN. Forgetting to set the PVID is the most common managed-switch mistake: the device’s traffic gets stamped with the default VLAN 1 and lands on the wrong network.
What does tagged and untagged mean on a switch?
Tagged means the frame leaves the port carrying its 802.1Q VLAN ID, used on trunk ports between network devices. Untagged means the port belongs natively to one VLAN and adds no tag, used on access ports to end devices. A trunk tags many VLANs; an access port is untagged on its single VLAN.
Should the switch or the firewall route between VLANs?
For most home networks, let the firewall route between VLANs so every inter-VLAN packet passes your firewall rules in one place. L3 managed switches can route between VLANs in hardware for higher throughput, but that traffic then bypasses the firewall unless carefully designed. Keep the security policy on the firewall and use an L2 switch.
Can a managed switch do link aggregation and VLANs together?
Yes. Link aggregation (LACP) bonds two or more cables into one logical link, and that bonded link can also be a tagged trunk carrying every VLAN. Configure the aggregation group on both ends, then treat it like any trunk port for tagging. Get single-link VLANs working first before adding aggregation.
This guide is part of the VLAN and network security cluster on the HomeLabRouter homepage, where I document the whole segmented setup I run at home.