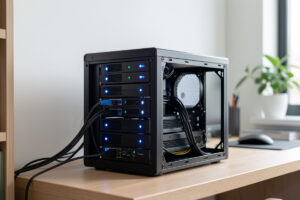
A home NAS is the quiet box the whole house ends up depending on — it holds the backups, the media library, the Proxmox VM storage, and the family photos that exist nowhere else. In my setup it lives on its own VLAN, runs ZFS on a pool of spinning disks with an SSD cache, and never touches the internet directly. Built right, it’s the most boring piece of hardware you own, which is exactly what you want from the thing your data lives on. Built wrong, it’s a single drive in a plastic enclosure waiting to take your photos with it.
This is the guide I wish someone had handed me before I bought my first off-the-shelf two-bay and outgrew it in a year. I’ve run TrueNAS on self-built hardware, kept a Synology around as the appliance benchmark, and rebuilt the pool layout more times than I’d like to admit — and below is what actually matters: the operating-system decision, the build, the filesystem, the RAID math, the drives, and how the NAS hangs off the rest of the network. Get those six right and you have storage that survives a dead disk without you losing a single byte.
What a Home NAS Actually Is (and What It Isn’t)
A NAS is a dedicated, always-on computer whose only job is to serve and protect storage over the network — not a single external drive, and not a folder shared off your desktop. The difference that matters is redundancy and a real filesystem: a proper NAS survives a drive failure and tells you about it, where a single-drive enclosure simply dies.
People conflate “NAS” with “a hard drive on the network,” and that conflation is where data loss starts. The whole point of the box is that it pools multiple drives so one can fail without the array going down, runs a filesystem (ZFS, in my case) that checksums every block to catch silent corruption, and exposes the result as network shares the rest of your devices mount. It is always on, so backups and media serving don’t depend on a PC being awake; it sits on its own network segment, so a compromised laptop can’t reach into it; and it scrubs itself on a schedule to catch bit-rot before it spreads. None of that is true of a USB drive, which is why “just get a big external” is the advice that eventually costs someone their photos. If you’ve decided to build rather than buy, the DIY NAS build guide walks through CPU and case selection, drive bays, and the ECC memory question for a TrueNAS or Unraid box that fits a home budget.
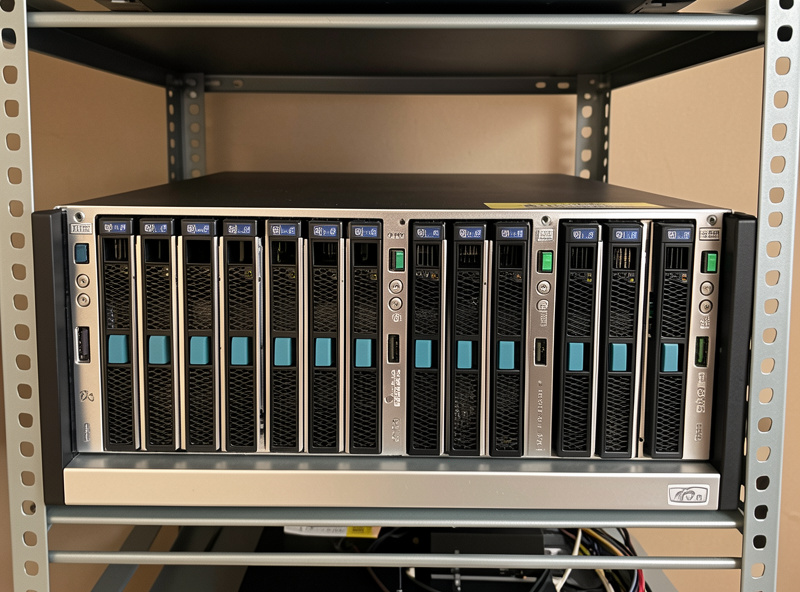
The one thing a NAS is not is a backup by itself. A NAS with redundancy protects against a drive dying; it does not protect against fire, theft, ransomware, or you deleting the wrong folder. The rule I live by is 3-2-1: three copies, two media, one off-site — and the NAS is one of those copies, not the whole strategy. That discipline is the part people skip until the day they wish they hadn’t, and it’s worth designing in from the start rather than bolting on after a scare.
There’s a second confusion worth clearing up early: a NAS is not the same as a homelab server, even though the line blurs on a box like mine that does both. A pure NAS serves files and protects them — shares, snapshots, scrubs. A homelab server runs services: containers, VMs, a media server, automation. You can absolutely run both roles on one machine (I do), but it changes the hardware math, because the moment the box is transcoding video or running a dozen containers it needs cores and RAM a file-serving appliance never would. Decide up front which it is, because a two-bay Synology bought to “just hold backups” will not become your Proxmox host later, and a 64 GB self-build is overkill if all you ever want is a place to dump photos.
Choosing the NAS Operating System
The NAS-OS decision comes down to three camps: TrueNAS (ZFS, free, build-your-own), Unraid (flexible mixed-drive arrays, paid, beginner-friendly), or a Synology/QNAP appliance (turnkey, you buy the whole box). The right pick depends on whether you want to build and tinker or buy and forget, and how much you value ZFS’s data integrity versus Unraid’s drive flexibility. For a side-by-side comparison on setup complexity, drive flexibility, and which use case each wins, the TrueNAS vs Unraid vs Synology guide covers all three platforms with real-world homelab priorities.
I run TrueNAS because I want ZFS — end-to-end checksums, snapshots, and a pool I understand down to the vdev. It’s free, it runs on hardware I chose, and it does exactly what an enterprise filer does at homelab scale. Unraid trades ZFS’s strict same-size-disk pools for the ability to mix any drives you have lying around and expand one disk at a time, which is genuinely the better answer if your drive collection is a mismatched pile. A Synology or QNAP appliance is the buy-it-and-forget option: you pay more per terabyte and give up hardware control, but you get a polished app ecosystem and a box that a non-technical family member could half-administer. Each one bites you somewhere — TrueNAS on rigid vdev expansion, Unraid on parity-write speed, the appliances on price and lock-in — and the trick is picking the one whose downside you can live with. If ZFS is new to you, the ZFS basics guide demystifies pools, vdevs, datasets, and the scrub schedule before you commit to a pool layout you can’t easily change.
| Platform | Filesystem | Cost model | Drive flexibility | Best for |
|---|---|---|---|---|
| TrueNAS | ZFS | Free (build your own) | Same-size disks per vdev | Data-integrity nerds, homelabbers |
| Unraid | Unraid array / optional ZFS | Paid license | Mix any sizes, expand one at a time | Mismatched drive piles, beginners |
| Synology / QNAP | Btrfs / ext4 | Buy the appliance | Fixed bays, vendor-locked | Buy-and-forget, app ecosystem |
My honest steer: if you enjoy the homelab and you’re already running something like Proxmox, build a TrueNAS box and learn ZFS — it’s the skill that pays off across everything. If you have a drawer of random drives and zero patience for pool math, Unraid. If you never want to think about it again and you’ll pay for that, a Synology. There’s no universally best answer here, only the one that matches how much you want to be involved.
Building vs Buying the Hardware
Building a NAS gets you more CPU, RAM, and drive bays per dollar plus full hardware control; buying an appliance gets you a warranty, a small footprint, and a setup wizard. For anyone running a homelab, building wins — the same box can host TrueNAS and a few VMs, and you pick ECC RAM and the HBA you actually want.
The build itself is not exotic. A modern low-power CPU, a motherboard with enough SATA ports or a proper HBA, as much RAM as you can justify (ZFS loves RAM for its ARC cache), a quiet case with drive bays, and a reliable PSU. The trap is the disk controller: never run ZFS off a cheap RAID card in hardware-RAID mode — ZFS wants raw disks, so you flash the HBA to IT mode or buy one that’s already there. If you’d rather not source parts, a turnkey appliance is the honest alternative — just know you’re paying a premium for the convenience and giving up the ability to throw VMs on the same iron. The box that ties a homelab together is the same instinct as the best DIY router hardware decision: pick the platform once, size it with headroom, and stop fighting it.
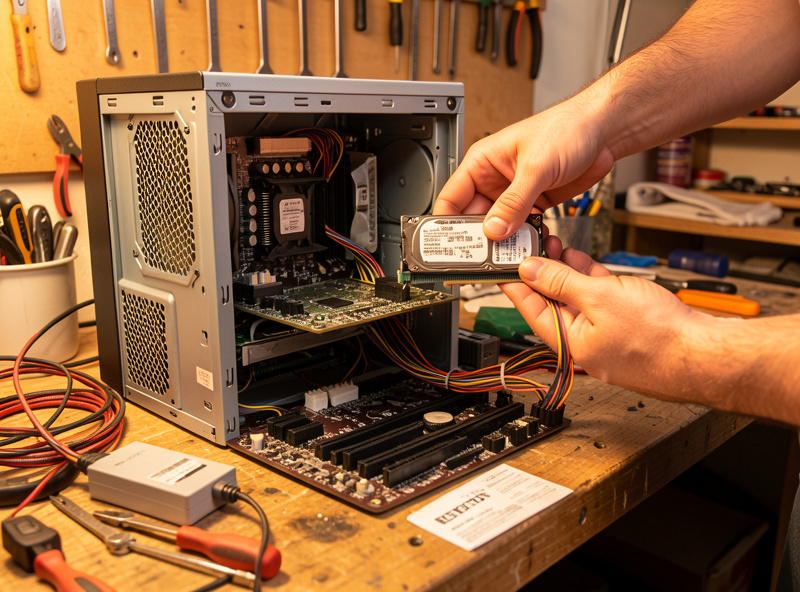
On the question of how much box you need: a media-and-backup NAS for a household is happy on modest hardware, while a NAS that also runs containers, a Plex/Jellyfin transcode, and Proxmox backup storage wants more cores and RAM. I size mine on the heavy side because the box does triple duty, and the headroom means it never becomes the bottleneck. If you’re coming at this from the firewall side, the same hardware logic I use for the router box in the best mini PC for pfSense roundup applies — low-power, ECC where you can, and the right NIC for the job.
The Filesystem: Why ZFS
ZFS is the reason a modern NAS can promise your data is intact, not just present — it checksums every block, self-heals corruption from redundancy, and snapshots the whole pool almost for free. If you’re building rather than buying an appliance, ZFS is the single biggest reason to bother, and it’s worth understanding before you lay out a pool you’ll live with for years.
The core ideas aren’t hard once someone explains them without the enterprise jargon: a pool is your total storage, made of one or more vdevs (groups of disks with their own redundancy), and your usable space and fault tolerance are decided by how you arrange those vdevs — a decision you can’t easily change later, so it’s worth getting right the first time. ZFS scrubs read every block and compare it to its checksum, repairing any mismatch from the redundant copy; snapshots let you roll a share back to last Tuesday in seconds; and the ARC cache in RAM is why ZFS feels fast despite all the integrity work. The one decision that bites beginners is vdev layout, because widening a pool the wrong way locks in poor redundancy — settle that before you create the pool, not after it’s full of data.
RAID and Redundancy
RAID (or its ZFS equivalent, the vdev) is how a NAS survives a dead drive — it spreads data and parity across disks so one failure doesn’t lose anything. Choosing a level is a three-way trade between usable capacity, how many drives can fail, and rebuild risk, and the right answer changes with how many disks you have and how big they are.
For a home NAS the practical choices are mirrors (fast, simple, half your capacity, survives one failure per pair) or single/double parity — RAIDZ1 and RAIDZ2 in ZFS terms — which give you more usable space at the cost of slower rebuilds. The detail people miss is that with today’s large drives, a RAIDZ1 rebuild can take long enough that a second drive failing mid-rebuild is a real risk, which is why I run RAIDZ2 (two-drive fault tolerance) on anything I care about. Mirrors are my pick when I want rebuild speed and easy expansion over raw capacity. The headline to internalize before you pick a level: RAID is not a backup, it’s uptime — it keeps the array serving through a dead disk, nothing more.
The number of drives you have shapes the answer as much as the data does. With four drives I’d run two mirrored pairs (striped mirrors) for speed and trivial expansion, or a single RAIDZ2 vdev if capacity matters more than IOPS. With six or eight drives RAIDZ2 starts to make real sense, because you get double-failure protection without giving up half your raw capacity to redundancy. What I avoid at home is wide single-parity vdevs of large disks — eight 18 TB drives in one RAIDZ1 is the configuration that looks efficient on paper and terrifies you during a resilver. For a full comparison of RAID levels and failure scenarios by drive count, the RAID levels explained guide breaks down every option in plain terms.. Match the layout to the drive count and the failure tolerance you actually want, then never expand it in a way that strands the redundancy you started with.
The Drives
The drives are where a NAS lives or dies, and the rule is simple: use NAS-rated drives designed for 24/7 operation and vibration in a multi-bay chassis, not the cheapest desktop or shucked external you can find. NAS drives carry firmware (time-limited error recovery) that keeps a redundant array from dropping a disk over a recoverable read, which is exactly the behavior you want under ZFS.
For bulk storage, spinning CMR drives in the 4–20 TB range are the backbone — avoid SMR drives in a ZFS pool, because their write behavior makes resilvers crawl. For a full breakdown of which specific drives hold up in 24/7 NAS duty, the best NAS hard drives guide compares CMR options by capacity and workload rating.. SSDs earn their place as a cache or for a fast pool that hosts VMs and containers, not usually as bulk capacity at home prices. I match drive choice to the role: big CMR NAS disks for the data pool, an SSD or two for cache and VM storage. A solid starting point for a bulk pool is a set of matched NAS-rated CMR hard drives, bought as a batch so they share a size and class.
One habit that has saved me real grief: don’t buy every drive from the same retailer in the same order. Drives from one manufacturing batch can share a defect and fail near each other in time, which is the last thing you want in a redundant array — a cluster of failures inside one rebuild window is exactly the scenario RAIDZ2 is supposed to survive, and you don’t want to test it. I stagger purchases or mix sources so the pool’s drives don’t all age identically. And I keep one cold spare on the shelf, because the day a drive dies is not the day you want to discover the model is out of stock and the array is running degraded while a replacement ships.
Disclosure: some links on this page are Amazon affiliate links. If you buy through them I may earn a small commission at no extra cost to you — it never changes what I recommend.
Putting the NAS on the Network
A NAS belongs on its own network segment with a static IP, reachable from the devices that need it and walled off from the ones that don’t — not parked on the flat LAN where every IoT gadget can see it. In my setup the NAS sits on a storage VLAN, serves SMB and NFS shares to trusted clients, and has no path to the internet except for updates.
This is the step the storage tutorials skip and the security guides assume you’ve already done. A NAS holding your backups and photos is exactly the box you don’t want a compromised smart bulb to reach, so it gets a fixed address, lives on a segment the firewall controls, and exposes only the share protocols its clients actually use. SMB for the Windows and general clients, NFS for the Linux and hypervisor mounts, and nothing exposed to the internet directly. For a step-by-step walkthrough of static IP assignment, share protocol setup, and VLAN tagging on the NAS itself, the NAS network setup guide covers those decisions in sequence. — remote access goes through WireGuard, never a port-forward to the NAS. The segmentation strategy this sits on top of is the home network VLAN guide, and the actual allow/deny rules that keep the storage segment sealed are in VLAN firewall rules. For putting a device cleanly onto a tagged segment in the first place, the managed switch setup walks the port discipline.
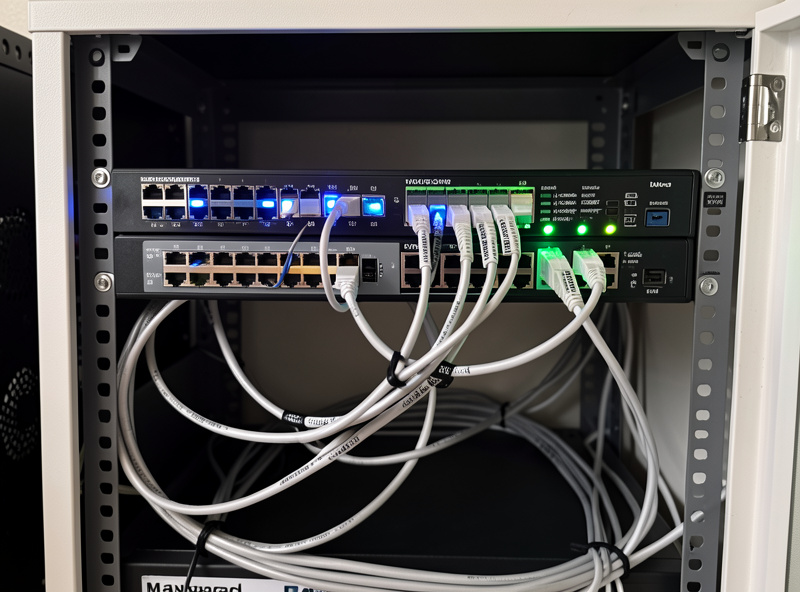
Throughput is the other reason network placement matters. A single gigabit link tops out around 110 MB/s, which is fine for backups and most media but a real ceiling if you’re editing video off the NAS or backing up a fleet of machines at once. That’s where the NAS-side of multi-gig comes in — a faster NIC in the NAS and a pool fast enough to feed it — but that’s a NAS-storage question (drives, pool, and the card in the box), distinct from a whole-network 10G buildout. If gigabit is your bottleneck, I’d put the faster NIC in the NAS and the workstations that talk to it before re-cabling the house. My own first 10G hop went exactly that way, and the lessons from the 10 GbE router DIY build carry straight over to feeding a NAS.
The pool has to be able to feed the wire, too, which is the part that surprises people who bolt a 10G card onto a NAS and see no improvement. A pair of spinning drives can’t saturate a 10G link no matter how fast the NIC is — sequential reads from a small RAIDZ vdev sit well under that ceiling, so the network stops being the bottleneck and the disks become it. To actually use multi-gig off a NAS you need either many spindles striped wide enough to add up, or an SSD pool (or cache) sitting in front. That’s why I treat “faster network for the NAS” as a storage-design question first and a cabling question second: decide what the pool can deliver, size the link to match, and don’t pay for a NIC the disks can’t keep busy.
What I Actually Run
My NAS is a self-built TrueNAS box: a low-power CPU with ECC RAM, an HBA flashed to IT mode feeding a RAIDZ2 pool of CMR NAS drives, an SSD for cache and VM storage, all on a dedicated storage VLAN with SMB and NFS shares and snapshots scheduled nightly. It backs up Proxmox, holds the media library, and replicates the irreplaceable folders off-site. That’s the shape of a home NAS that you set up once and stop worrying about.
If you’re starting out, build in this order: pick the OS, build or buy the hardware, understand ZFS enough to lay out the pool, choose a RAID level that matches your drive count, buy matched NAS drives, then put the whole thing on its own segment with a backup plan that includes an off-site copy. Do them in order and you skip the expensive mistakes — the lost pool, the SMR resilver that never finishes, the NAS sitting wide open on the flat LAN. If you’re still earlier in the homelab journey, the homelab network builds walkthrough shows where the NAS fits in the larger stack. Storage is the one place in a homelab where boring, redundant, and segmented beats clever every time.
Frequently Asked Questions
Is a NAS a backup?
No. A NAS with redundancy protects against a single drive failing, but it does not protect against fire, theft, ransomware, or accidental deletion. Treat the NAS as one copy in a 3-2-1 strategy — three copies, two media types, one off-site — not as the backup itself.
Should I build a NAS or buy a Synology?
Build if you run a homelab and want ZFS, more bays, and the option to host VMs on the same box. Buy a Synology or QNAP appliance if you want a small, warrantied, set-up-wizard box and you are happy paying a premium per terabyte for that convenience.
What RAID level should a home NAS use?
For data you care about, RAIDZ2 (double parity) is the safe default because large modern drives make single-parity rebuilds risky. Mirrors are a good alternative when you want fast rebuilds and easy expansion over maximum usable capacity.
Do I need special hard drives for a NAS?
Use NAS-rated CMR drives designed for 24/7 multi-bay operation. Their time-limited error recovery firmware stops a redundant array from dropping a disk over a recoverable read, and you should avoid SMR drives in a ZFS pool because they make resilvers extremely slow.
How much RAM does a NAS need?
ZFS uses RAM as its ARC read cache, so more helps responsiveness — a modest household NAS is happy with a sensible baseline, while a box that also runs containers, media transcoding, and VM storage wants considerably more. Buy as much as you can reasonably justify.
Should the NAS be on its own VLAN?
Yes. Put the NAS on a dedicated storage segment with a static IP, reachable only by the clients that need its SMB and NFS shares and walled off from IoT and guest devices. Remote access should go through a VPN like WireGuard, never a direct port-forward to the NAS.