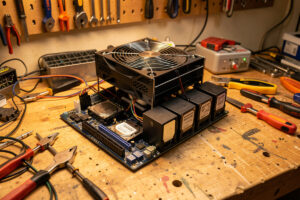
Building your own NAS gets you more storage, more compute, and full hardware control for the money an appliance charges — and it’s a genuinely approachable build. The parts that matter are a low-power CPU, a motherboard with enough SATA or a proper HBA, plenty of RAM, a case with drive bays, and a reliable PSU; the part that trips people up is the disk controller, not the assembly. I’ve built several of these, and the box I run today started as exactly this parts list.
This is the build I’d hand a friend who’s decided to go TrueNAS rather than buy a Synology. It’s the practical, parts-level companion to the OS decision in TrueNAS vs Unraid vs Synology, and it slots under the broader home NAS guide. I’ll walk the components in the order I actually choose them, flag the one mistake that wrecks a ZFS build, and give you a sane way to size the box to what you’re storing.
Why Build Instead of Buy
You build a NAS when you want more bays, more RAM, a faster CPU, and the freedom to run VMs and containers on the same box — all for what an equivalent appliance costs with half the capability. The trade is that you’re the integrator: you pick the parts and own the result when something needs troubleshooting.
The math favors building the moment you want more than four bays or any real compute. An appliance with eight bays and enough RAM to run a few containers costs a serious premium; the same money self-built buys more drives, far more RAM, and CPU headroom to run a media server and Proxmox backups on the same iron. The reason I build is that one box does triple duty — file server, VM host, backup target — and an appliance can’t stretch that way. If you only ever want a place to dump photos and you value a warranty over capability, buy the appliance; that’s a legitimate choice I make the case for in the main NAS guide. Everyone else: build.
CPU and Motherboard
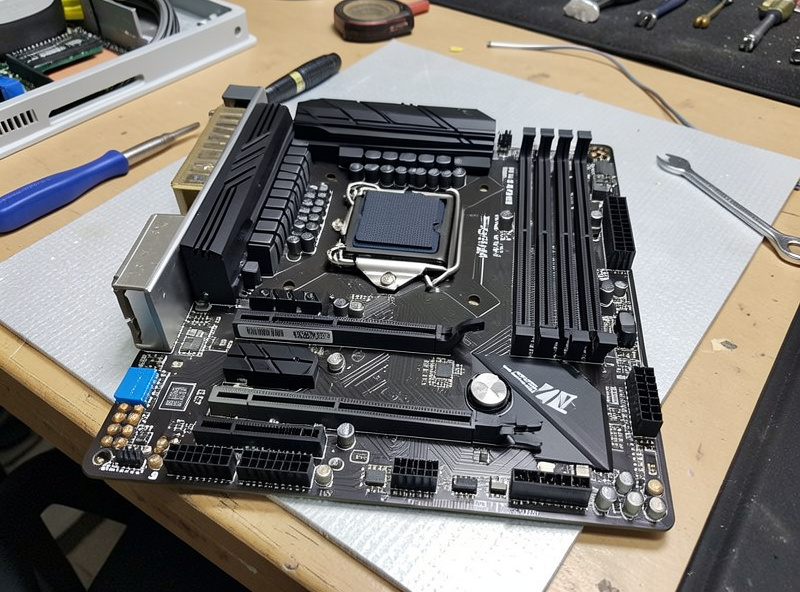
For a NAS, pick a modern low-power CPU and a motherboard that gives you enough SATA ports (or PCIe lanes for an HBA) plus ECC support if you can get it affordably. A file-serving NAS barely taxes a CPU; the choice shifts toward more cores only when the box also transcodes media or runs a stack of containers.
I size the CPU to the box’s job. Pure storage is happy on a modest low-power chip — integrated graphics, low TDP, quiet. The moment you add Plex/Jellyfin transcoding or a dozen containers, you want more cores and ideally hardware transcode support, which nudges you toward a chip with capable integrated graphics. The motherboard is where the real decision lives: count your drives, make sure you have the SATA ports or a free PCIe slot for an HBA, confirm it takes the RAM capacity you want, and prize ECC support if the platform offers it without a huge premium. ECC protects data in memory from bit errors, which matters more on a box whose entire job is data integrity — it’s recommended for ZFS, though a non-ECC build is still vastly safer than a single-drive enclosure.
RAM
Put as much RAM in a ZFS NAS as you can reasonably justify, because ZFS uses free memory as its ARC read cache — more RAM means more of your active data served from memory instead of disk. A modest household NAS runs fine on a sensible baseline; a box that also runs containers and VMs wants considerably more.
The old “1 GB per TB” rule of thumb is a loose floor, not a law — ZFS will run leaner, it just caches less. What I actually do is fill the box to a comfortable capacity and let ARC use whatever the rest of the system isn’t, because RAM is the cheapest performance you’ll add to a NAS. If the box is doing double duty as a VM host, budget RAM for the VMs on top of what ZFS wants for cache, because they compete. ECC where the platform supports it, for the same data-integrity reason as above. A reliable ECC server memory kit is worth the small premium on a box whose only job is keeping your data correct.
The HBA: The Part People Get Wrong
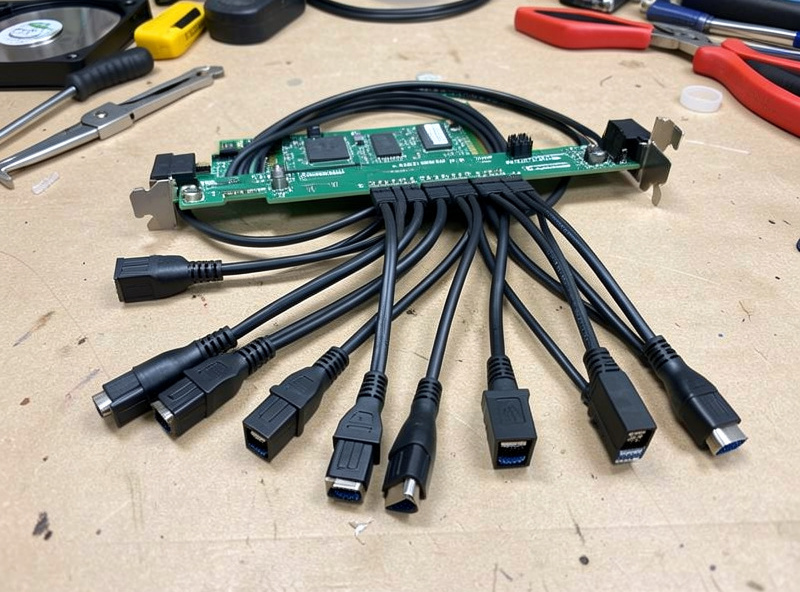
If your motherboard doesn’t have enough SATA ports, add a host bus adapter (HBA) flashed to IT mode — never a hardware-RAID card running its own RAID. ZFS wants to see raw, bare disks so it can manage redundancy and checksumming itself; a RAID card that hides the disks behind its own array fights ZFS and defeats the integrity features you built the box for.
This is the single most common DIY-NAS mistake, and it’s worth getting right before you buy. A classic LSI-based HBA in “IT mode” presents each disk directly to the OS, which is exactly what ZFS wants. Some cards ship in IT mode; others ship as RAID controllers and need re-flashing to IT firmware. If you’re buying, get one already flashed to IT mode so you skip the flashing dance entirely. An LSI HBA in IT mode is the standard part here, and it turns a board with four SATA ports into one that feeds eight or sixteen drives cleanly. Whatever you do, do not put your ZFS disks behind a hardware-RAID volume — it’s the build’s one unforgivable error.
Case, PSU, and Drives
Pick a case with as many drive bays as you’ll grow into, a PSU sized with headroom and good efficiency, and NAS-rated CMR drives bought as a matched batch. The case and PSU are the parts people cheap out on and regret — a NAS runs 24/7, so quiet, cool, and reliable beat flashy.
For the case, count your target drive count and add room to grow; a chassis with hot-swap bays makes a dead-drive replacement painless, though it costs more than a plain tower with internal cages. The PSU should be a quality unit sized for the drive count at spin-up (drives draw the most power as they start) with efficiency headroom — a NAS that’s on constantly rewards an efficient supply. For drives, use NAS-rated CMR disks designed for 24/7 multi-bay vibration, bought as a matched set so they share a size and class, and never SMR in a ZFS pool because resilvers crawl on shingled drives. I cover the drive logic in depth — CMR vs SMR, capacities, how many for a given RAID level — but the short version is a batch of matched NAS-rated CMR hard drives plus an SSD or two for cache and VM storage. One habit worth keeping: don’t buy every drive in one order from one source, so they don’t all share a manufacturing batch and age out together.
Putting It Together
Assemble it like any PC, install TrueNAS to a small boot SSD (not your data drives), lay out the ZFS pool deliberately, and put the finished box on its own network segment. The assembly is the easy part; the pool layout is the decision you live with, so plan the vdevs before you create them.
My build order: mount the board, CPU, and RAM; seat the HBA; install the boot SSD separately from the data drives; cable the drives to the HBA or onboard SATA; then boot TrueNAS and create the pool. Decide your RAID level before you create the pool — RAIDZ2 for data you care about, mirrors for rebuild speed and easy expansion — because the layout is hard to change later. Once the pool’s up, the box belongs on a dedicated storage VLAN with a static IP, serving SMB and NFS to the clients that need it and walled off from everything else; I cover that placement in the storage networking section of the main guide, which builds on my home network VLAN guide. Get the segmentation right and the NAS is invisible until you need it — which is exactly the goal. If you’re still mapping where the NAS fits in the larger stack, the homelab network builds walkthrough places it in context.
Frequently Asked Questions
Is it cheaper to build or buy a NAS?
For four bays or fewer with no compute needs, a small appliance can be competitive. Past that — more bays, more RAM, or the ability to run VMs and containers — building is cheaper per terabyte and far more capable, at the cost of sourcing parts and being your own integrator.
What CPU do I need for a home NAS?
A file-serving NAS is happy on a modest low-power CPU. You only need more cores and capable integrated graphics if the box also transcodes media in Plex or Jellyfin or runs many containers and VMs alongside its storage role.
Do I need an HBA for a DIY NAS?
Only if your motherboard lacks enough SATA ports for your drives. If you do add one, use a host bus adapter flashed to IT mode so ZFS sees raw disks — never a hardware-RAID card running its own array, which defeats ZFS’s integrity features.
How much RAM should a TrueNAS build have?
Put in as much as you can reasonably justify, because ZFS uses free RAM as its ARC read cache. A modest household NAS runs fine on a sensible baseline; if the box also hosts VMs or containers, budget RAM for those on top of what ZFS wants for cache.
Can a DIY NAS also run VMs?
Yes — that is a big reason to build rather than buy. A self-built box with enough cores and RAM can serve files under TrueNAS while also running containers, a media server, and VMs, where a fixed-spec appliance usually cannot stretch that far.
Related Guides
Disclosure: some links on this page are Amazon affiliate links. If you buy through them I may earn a small commission at no extra cost to you — it never changes what I recommend.