
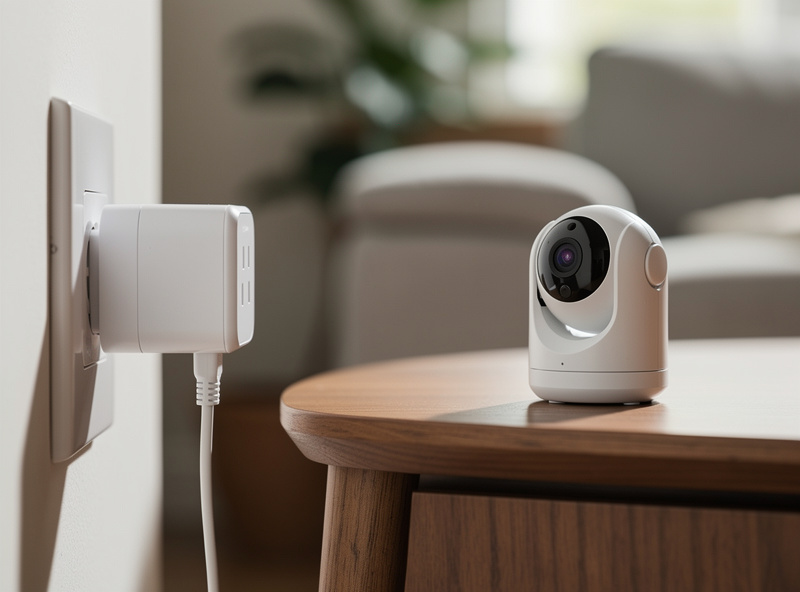
A VLAN for IoT exists to cage the least-trustworthy devices in your house — the smart plugs, cameras, TVs, and voice assistants running firmware nobody updates — so that when one is compromised, it is trapped on its own segment with no path to your laptops, NAS, or phones. The design goal is precise: reachable from your trusted devices, but unable to reach anything itself. I run exactly this IoT VLAN on my OPNsense box, and the cheap gadgets live there on a tight leash.
This is the indoor, smart-home version of the problem. If your IoT is outdoor sensors and PoE cameras on a coop, barn, or shed, that is a different build with cabling, surge, and weatherproofing concerns — I cover that separately in my farm IoT network setup. Here the devices are inside the house on Wi-Fi, and the whole challenge is letting them work without letting them roam. It is the highest-value spoke in the home network VLAN guide after guest isolation.
Why IoT Devices Belong on Their Own VLAN
IoT devices are the weakest link on a home network: cheap, rarely patched, cloud-dependent, and often shipping with known vulnerabilities out of the box. Putting them on their own VLAN means a compromised camera or plug cannot scan or attack your real computers — it is confined to a segment with no inbound path to anything that matters.
The risk is not theoretical. A smart bulb or budget IP camera frequently runs an outdated Linux stack with open services and hardcoded credentials — exactly the class of default-credential and insecure-default-setting risk the OWASP IoT security project tracks across the industry — and it phones home to cloud servers you cannot audit. On a flat network, that device sits on the same subnet as your work laptop and your NAS, with a clear path to both. On a dedicated IoT VLAN with default-deny, the same compromised device is boxed in: it can answer requests from your trusted phone, and it can reach its one whitelisted cloud endpoint if you allow it, and that is the entire extent of its reach. Everything else is dropped at the firewall. That containment is the whole reason this VLAN exists.
The Reachable-But-Not-Reaching Pattern
The defining trick of an IoT VLAN is asymmetry: your trusted devices can initiate connections to the IoT devices, but the IoT devices can never initiate connections back. You write one stateful allow rule in one direction, and the firewall automatically handles the return traffic — so your phone controls the lights, but the lights cannot start a conversation with your phone.
This works because the firewall is stateful. When my phone on the TRUST VLAN opens a connection to a smart plug on the IOT VLAN, the firewall remembers that session and lets the plug’s reply come back automatically. But there is no rule allowing the IOT VLAN to initiate a connection toward TRUST, so a compromised plug trying to scan inward gets dropped immediately — it can only respond to sessions my trusted devices started, never begin one. That single asymmetry, one stateful allow rule from TRUST to IoT control ports plus a hard default-deny everywhere else, is what makes the segment both usable and safe. The full rule mechanics live in my VLAN firewall rules guide.
Blocking Internet Egress and Killing the Phone-Home
Most IoT devices do not need open internet — they need a single cloud endpoint, or nothing at all. The strongest IoT VLAN blocks internet egress by default and whitelists only the specific destinations a device genuinely requires, which kills the constant telemetry and tracking that cheap gear phones home with. Locally-controlled devices get no internet at all.
This is where an IoT VLAN goes from “nice isolation” to “active privacy control.” My approach: the IOT VLAN default-denies outbound internet, and I add narrow allow rules only for devices that truly need a cloud service to function — a video doorbell that records to the manufacturer’s cloud, say. Everything I can control locally — through Home Assistant on the trusted side reaching in — gets zero internet egress, which stops the device dialing out to telemetry servers entirely. The payoff is real: a camera that cannot reach the internet cannot leak footage, and a plug that cannot phone home cannot be remotely bricked by a vendor. Pair this with DNS filtering (I run Pi-hole and AdGuard) and the IoT segment becomes the quietest, most controlled part of the network.
mDNS Reflection: Making Casting Work Across the Boundary
The one thing an IoT VLAN breaks is discovery — casting, AirPlay, and smart-TV control rely on mDNS, which does not cross VLAN boundaries by default. The fix is an mDNS reflector (Avahi) on the firewall that selectively forwards discovery between your trusted and IoT VLANs, so casting works without dropping the wall between them.

Here is the tension: you put the Chromecast and the smart TV on IOT for safety, but now your phone on TRUST cannot find them to cast, because the mDNS multicast announcing “I am a Chromecast” stays trapped on the IOT subnet. An mDNS reflector listens on both VLANs and repeats those announcements across the boundary, restoring discovery. The key is to enable it only between the specific VLANs that need it (TRUST and IOT), never to the guest segment — guests should never discover your devices. This is exactly why my guest VLAN deliberately runs no reflector while the IoT VLAN does. Configure the reflector to the two interfaces that need it and casting works again, with the firewall rules still blocking everything else.
What Works, What Breaks, and How to Fix It
Moving IoT to its own VLAN fixes security but predictably breaks a few conveniences — and every one has a clean fix. The table below is what I hit when I built mine and exactly how I resolved each, so you can plan the rules before the family complains the casting stopped.
| What breaks | Why | The fix |
|---|---|---|
| Casting / AirPlay | mDNS does not cross VLANs | mDNS reflector (Avahi) between TRUST and IOT only |
| App can’t find new device | Setup uses local discovery on one subnet | Onboard the device on TRUST, then move it to IOT |
| Phone can’t control lights | No allow rule from TRUST to IOT | One stateful allow: TRUST to IoT control ports |
| Cloud device offline | Egress blocked to its cloud | Whitelist that device’s specific endpoint outbound |
| Printer not visible | Printer on IOT, mDNS blocked | Reflect printer mDNS, or keep printer on TRUST |
How I Build the IoT VLAN
The build is the same default-deny skeleton as every other isolated VLAN, with two IoT-specific additions: an egress whitelist and an mDNS reflector. Create the VLAN, lock it down, add the single TRUST-to-IoT allow, then handle egress and discovery. About twenty minutes once the trunk carries the VLAN.
- Create VLAN 60 (10.0.60.0/24 in my map) on the firewall and tag it on the switch trunk and the IoT SSID — see managed switch setup for the tagging.
- DHCP + DNS: hand out 10.0.60.x with the firewall as the DNS server so IoT cannot bypass your filtering.
- Default-deny: block IOT to the firewall admin, block IOT to all RFC1918 ranges, and do not add a broad allow-to-internet.
- Trusted access: one stateful allow rule, TRUST to IoT control ports, so your phone and Home Assistant can reach in.
- Egress whitelist: add narrow outbound allows only for the specific cloud-dependent devices that need them; everything else stays internet-blocked.
- mDNS reflector: enable Avahi between TRUST and IOT so casting and discovery work across the boundary.
Map a dedicated IoT SSID to VLAN 60 on your access points so wireless IoT devices land on the segment automatically — and remember mesh is a coverage tool, not a security boundary, as my Wi-Fi 6 guide covers. The result is a smart home that works exactly as before from your phone, while the devices themselves sit caged. For where this fits among the other zones, the network segmentation guide has the full map.
Frequently Asked Questions
What is a VLAN for IoT?
A VLAN for IoT is a separate, isolated network segment for smart-home devices like plugs, cameras, TVs, and voice assistants. It uses 802.1Q tagging plus default-deny firewall rules so that if a cheap, rarely-patched device is compromised, it is trapped on its own segment and cannot reach your computers, phones, or NAS.
Why put IoT devices on a separate VLAN?
IoT devices are the weakest link on a home network: cheap, rarely updated, cloud-dependent, and often shipping with known vulnerabilities. A dedicated VLAN confines a compromised device so it cannot scan or attack your trusted computers. It also lets you block the constant telemetry these devices phone home with, improving privacy.
How do I control IoT devices if they are on a separate VLAN?
Add one stateful firewall rule allowing your trusted VLAN to reach the IoT control ports. Because the firewall is stateful, your phone or Home Assistant can open a connection to a device and the reply returns automatically, while the IoT device itself can never initiate a connection back toward your trusted network.
Will an IoT VLAN break casting and AirPlay?
It will, until you add an mDNS reflector. Casting and AirPlay rely on mDNS discovery, which does not cross VLAN boundaries by default. Running an mDNS reflector like Avahi on the firewall, enabled only between your trusted and IoT VLANs, forwards the discovery announcements so casting works again without weakening isolation.
Should I block internet access for IoT devices?
Block it by default and whitelist only what each device truly needs. Many IoT devices work fully with local control and need no internet at all; blocking egress stops them phoning home with telemetry. For devices that require a cloud service, add a narrow outbound allow to just that endpoint rather than opening full internet access.
How do I add a new IoT device when it is isolated?
Many devices use local discovery during setup, which the VLAN isolation blocks. The simplest method is to onboard the device on your trusted network first, complete the app pairing, then move it to the IoT VLAN by switching it to the IoT SSID. After that it operates normally within the isolated segment.
Is a VLAN for IoT different from one for outdoor sensors?
Yes. An indoor smart-home IoT VLAN focuses on Wi-Fi devices, egress blocking, and mDNS reflection. An outdoor setup for coop or barn sensors and PoE cameras adds cabling, Ethernet surge protection, and weatherproofing concerns. The VLAN and firewall logic is similar, but the physical layer and risk profile differ significantly.
This guide is part of the VLAN and network security cluster on the HomeLabRouter homepage, where I document the whole segmented setup I run at home.