Fixing a Wi-Fi dead zone almost always comes down to one of three things: move or add an access point to cover the gap, lower transmit power so clients roam instead of clinging, or get the dead-zone device off congested 2.4 GHz. Cranking power or buying a “stronger” router is the instinct, and it’s usually the wrong move. The fix is geometry and configuration, not more watts.
This is the diagnostic order I actually work through when a room won’t hold a connection, starting with a free survey and ending with the few cases that genuinely need new hardware. It builds on the placement principles in access point placement and the wider layout in the home Wi-Fi setup guide.
Survey the Dead Zone First
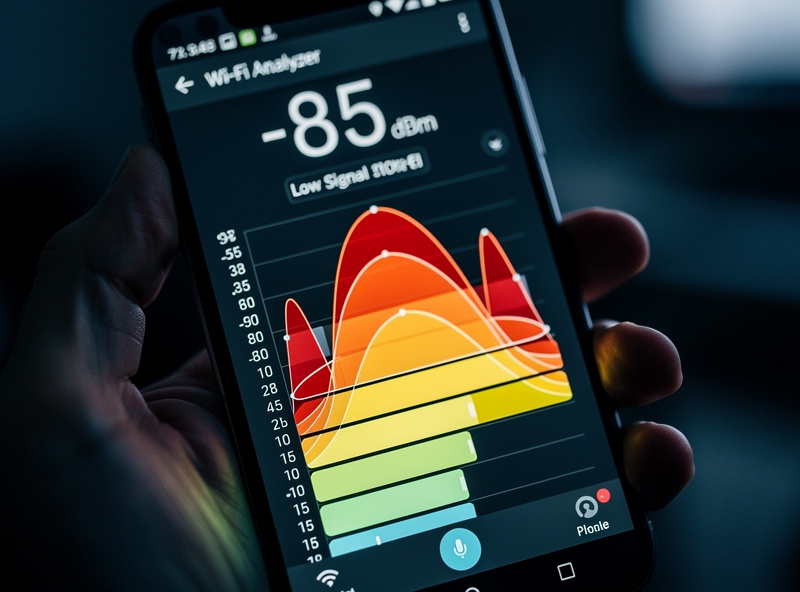
Before changing anything, map the problem with a free Wi-Fi analyzer app on your phone. Walk into the dead zone and read the signal strength in dBm — that single number tells you whether you’re dealing with weak signal, channel congestion, or a client that simply won’t roam.
The survey turns guesswork into diagnosis. A reading worse than about -70 dBm in the dead zone means genuinely weak signal — the AP can’t reach there well, so the fix is placement or an added AP. A strong signal number that still performs badly points at congestion or interference, which you’ll also see in the app as a crowded channel. And a phone showing a strong signal from a distant AP while ignoring a closer one is the classic sticky-client problem — the device won’t let go. Each of those three findings has a different fix, which is why I never start by changing settings blindly; I read the dead zone first. The same survey workflow is in access point placement, and it takes about ten minutes to walk a whole home.
If the Signal Is Genuinely Weak
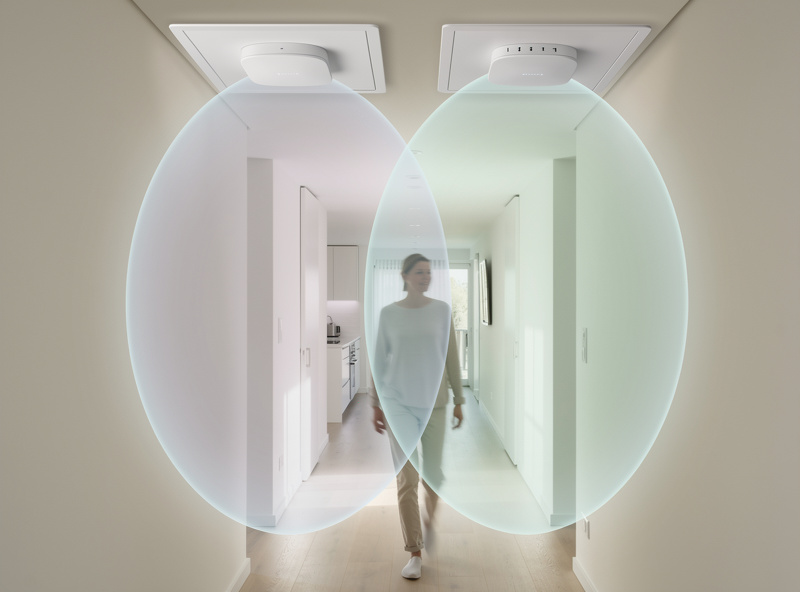
A weak-signal dead zone is a coverage gap, and the durable fix is an access point closer to it — not more power on a distant AP. Adding a wired AP to serve the far zone directly solves it cleanly; raising power on the existing AP just creates a strong-looking but slow link.
This is where people reach for power and make it worse. Turning up the distant AP lets the phone hear it from the dead zone, but the phone can’t reply across that distance, so you get full bars and crawling speeds. What the gap actually needs is an AP with a clean line to it. If you can run a cable to or near the dead zone, mount a wired AP there — that’s the permanent fix and the reason the wired layout scales so well. If you genuinely can’t cable that spot, a mesh node with dedicated backhaul is the fallback, though it’ll never match a wired AP; the tradeoff is laid out in wired access points vs mesh. Before adding hardware, also check the obvious: an AP hidden in a media cabinet or behind a TV is throttled by its own enclosure — sometimes “add an AP” is really “move the AP out of the cupboard.”
If a Device Won’t Roam (Sticky Clients)
A sticky client clings to a far AP it joined earlier instead of switching to a closer one, producing a dead zone that’s really a roaming failure. The fix is lower transmit power so the old AP’s signal drops below the threshold that forces the device to roam, plus enabling fast-roaming standards.
Roaming is a decision the client makes, and many devices are stubborn about it — they hold onto an AP until the signal nearly collapses. If your survey shows a phone gripping a distant AP while standing next to a closer one, the cause is usually transmit power set too high: the far AP still looks “good enough” to the device. Dialing power down on your APs shrinks each cell so a walking client hits a signal floor and hands off. Enabling 802.11k/v/r (the fast-transition standards) makes that handoff quick and clean. I tune for this during setup, covered in UniFi access point setup — and I accept that a few cheap IoT devices will never roam well, so I park those on a dedicated 2.4 GHz SSID where it doesn’t matter.
If the Band Is Congested
If the dead-zone device shows decent signal but poor throughput, the culprit is usually a congested 2.4 GHz band shared with neighbors and your own IoT gear. Moving capable devices to 5 or 6 GHz and pinning 2.4 GHz to a clear channel (1, 6, or 11) clears it up.
The 2.4 GHz band is crowded — it travels far, so you hear every neighbor’s network on it, plus your own smart-home swarm. A device stuck on 2.4 GHz in an apartment building can show three bars and still stall, simply because the airtime is saturated. The survey app shows you which channels are busy; pick the least-congested of 1, 6, or 11 (the only non-overlapping options) and pin it rather than leaving auto to wander. Better still, push everything that can run on 5 or 6 GHz up there — the 6 GHz band from a Wi-Fi 6E or 7 AP is nearly empty, which is half the reason it’s worth having, as covered in Wi-Fi 6E vs Wi-Fi 7. If the dead zone is a wet or outdoor area specifically, that’s its own ingress-and-placement problem handled in Wi-Fi in a wet room.
When a survey confirms you genuinely need another AP, a PoE ceiling unit like a PoE ceiling access point placed to serve the gap is the durable fix — far more effective than any range-extender band-aid.
The Less-Obvious Causes
A handful of dead zones aren’t a Wi-Fi problem at all, and they’re worth ruling out before you rearrange APs. An AP tucked inside a media cabinet, a microwave running on the same 2.4 GHz frequency, foil-backed insulation in a wall, or a single device with a failing Wi-Fi radio can each masquerade as a coverage gap.
I keep a short mental checklist for the weird ones. If a dead zone appears only at certain times of day, suspect interference — a microwave, a baby monitor, or a neighbor’s gear cycling on. If a single device struggles while everything else in the same spot is fine, the problem is that device, not your network; test a second phone in the same place to confirm. If a whole room is dead behind one wall, check what’s in that wall — masonry, ductwork, or foil insulation can block signal almost completely, and the answer is an AP on the same side of the barrier as the dead zone rather than fighting through it. And if performance is bad everywhere, not just one zone, that’s not a dead-zone problem at all — it points upstream to the router, DNS, or the internet connection, which is the diagnostic path in troubleshooting your home network. Ruling these out takes a few minutes and saves you from buying an AP that won’t fix the actual cause.
Why Range Extenders Make It Worse
A range extender is the most common dead-zone “fix” and one of the worst. It receives your Wi-Fi and rebroadcasts it on the same radio, so every bit of data crosses the air twice and throughput roughly halves — and it usually creates a second SSID your devices bounce between awkwardly.
The appeal is obvious: an extender is cheap and plugs into a wall socket near the dead zone, no cabling. But the physics work against it. Because it talks to your router and to your devices on the same radio at the same time, it can only do one at a time, which is where the throughput penalty comes from. Worse, a simple extender often broadcasts its own network name, so your phone has to decide between “MyWiFi” and “MyWiFi_EXT” and frequently picks wrong, clinging to the weaker one. The result is a dead zone that now has a slow, flaky connection instead of no connection — not really an improvement. If you absolutely cannot run a cable to the gap, a proper mesh node with dedicated backhaul is the right wireless fallback because it keeps a separate radio for the backhaul hop, and it presents a single seamless SSID. But where a cable can reach, a wired AP beats every wireless workaround, which is the entire argument in wired access points vs mesh. I pulled the one extender I ever owned within a week.
The Order That Actually Works
Work the problem in this sequence and you’ll fix almost every home dead zone without buying the wrong thing: survey to identify the cause, move the AP out of any enclosure, drop transmit power and enable fast roaming, push capable devices to 5 or 6 GHz and pin a clear 2.4 GHz channel, and only then add a wired AP if a real coverage gap remains.
The reason this order matters is that the cheap fixes sit at the top. A survey and a power adjustment cost nothing and resolve the majority of “dead zones” that are really roaming or congestion problems in disguise. Moving an AP out of a cabinet is free. It’s only after those that hardware enters the picture — and when it does, a wired AP serving the gap directly is the durable answer, not a range extender that halves your throughput. I’ve fixed far more dead zones by turning power down and letting clients roam than by adding gear. Save the new AP for the genuine coverage gaps your survey proves, and you’ll spend less and end up with a network that actually holds a connection room to room.