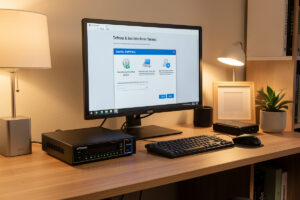
To install Suricata on pfSense you add the Suricata package from the System > Package Manager, assign it to an interface, download a rule set, and start it in detection mode — about an evening’s work, most of it spent waiting on rules to download. The part nobody warns you about isn’t the install; it’s picking the right interface and setting HOME_NET so the engine knows your network from the outside world.
This is the focused install walkthrough: the steps to get Suricata running cleanly on pfSense in IDS mode, plus the two or three settings beginners get wrong on the first pass. It follows the same engine behaviour documented in the official Suricata documentation, and deliberately stops short of deep production tuning — for the full end-to-end IDS-and-IPS build with blocking, my pfSense Suricata IDS/IPS tutorial goes further. Here, the goal is simpler: installed, watching, and not lying to you yet.
Before you install: get the prerequisites right
Two things decide whether this goes well. First, hardware. Suricata roughly doubles your firewall’s CPU load when it’s inspecting, so a single-core or RAM-starved box will struggle at gigabit. A multi-core x86 pfSense appliance with at least 8 GB of RAM handles home-line-rate inspection comfortably; Suricata is memory-hungry because rule sets and flow tables live in RAM. Second, your network layout. An IDS on a flat network can tell you something is wrong but not which trust zone it came from, so if you haven’t segmented yet, the home network VLAN guide is the prerequisite that makes every alert legible afterward.
Step 1: Install the package
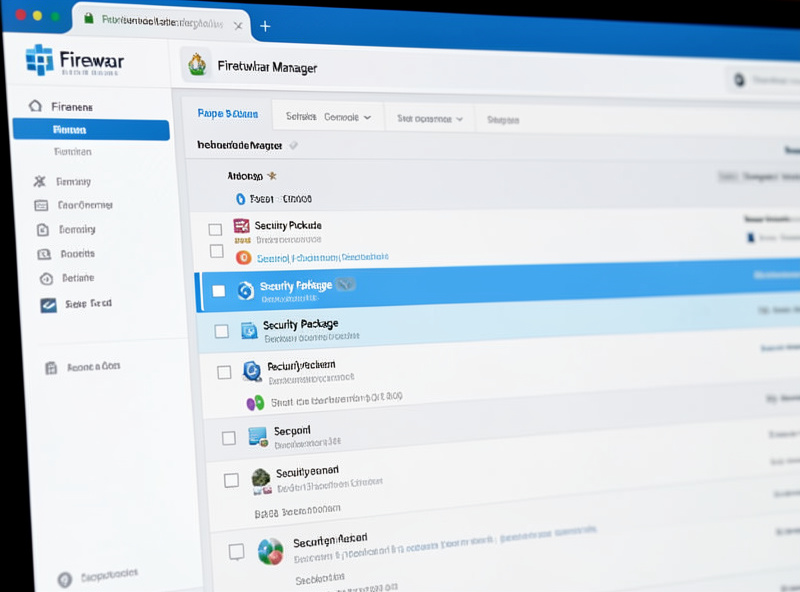
In the pfSense web UI, go to System > Package Manager > Available Packages, search for Suricata, and click Install. pfSense pulls the package from its repository and registers a new Services > Suricata menu entry when it’s done. There’s nothing to configure yet — installing the package only puts the engine on disk. If you don’t see Suricata in the list, confirm your pfSense install has a working internet connection and that your version is current; package availability tracks the pfSense release.
Step 2: Choose which interface to watch
This is the decision that matters most, and it’s the one beginners rush. Under Services > Suricata > Interfaces, click Add and pick an interface. The instinct is to slap it on WAN. Resist it. Inspecting the WAN shows you the relentless background scan noise from the internet — traffic your firewall’s default-deny rules already drop — and buries the interesting findings under thousands of alerts about packets that never got in.
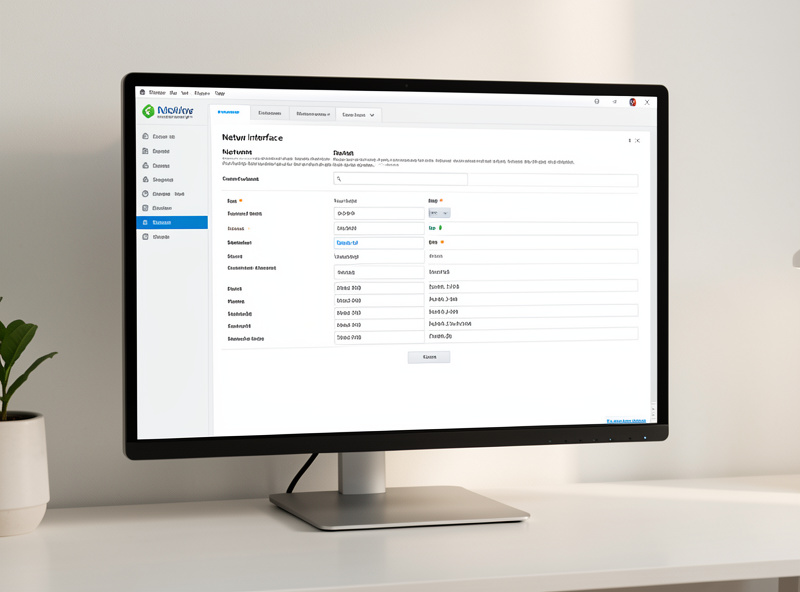
Watch the LAN side instead, or a specific VLAN, so you see what your own devices are actually doing after the firewall has filtered inbound junk: an IoT gadget beaconing somewhere it shouldn’t, a laptop scanning the subnet. One important limitation to understand up front — Suricata on the firewall only sees traffic that crosses the firewall, so two devices on the same VLAN talking to each other are invisible to it. Catching that needs a switch SPAN port and a separate sensor, which is a different project covered in network traffic analysis in a homelab.
Step 3: Set HOME_NET correctly
Suricata classifies traffic as internal or external using the HOME_NET variable, and getting it wrong is the quiet reason an install produces useless alerts. By default pfSense populates HOME_NET with your local networks, but if you run multiple VLANs and RFC1918 ranges, confirm under Services > Suricata > Pass Lists / Variables that HOME_NET actually covers all your internal subnets. If it doesn’t, the engine treats your own VLANs as “external” and either misfires or misses lateral activity. Set it to the supernet that contains your internal ranges and nothing public. This one variable does more for alert quality than any rule choice.
Step 4: Download a rule set
An engine with no rules detects nothing. Go to Services > Suricata > Global Settings and enable a rule source. For a home network, the Emerging Threats Open ruleset is the free, sensible default — it covers commodity malware, scanning, and known-bad infrastructure, which is the realistic residential threat model. You can optionally register for the free Snort/Talos rules (delayed 30 days for free accounts) and the ET Pro set is paid, but ET Open plus tuning is plenty for home use. Set an update schedule (daily is fine), save, then go to the Updates tab and pull the rules manually for the first time. This download is the slow part of the whole process.
After the rules land, open your interface’s Categories tab and select which rule categories to enable. Do not enable everything — the default everything-on state is exactly what produces a thousand-alert fire hose. Start with the malware, exploit, and scan categories that apply to a home, and leave the enterprise-protocol and server-specific categories off. This is the doorway into real tuning, which is its own discipline.
Step 5: Start in detection mode and watch
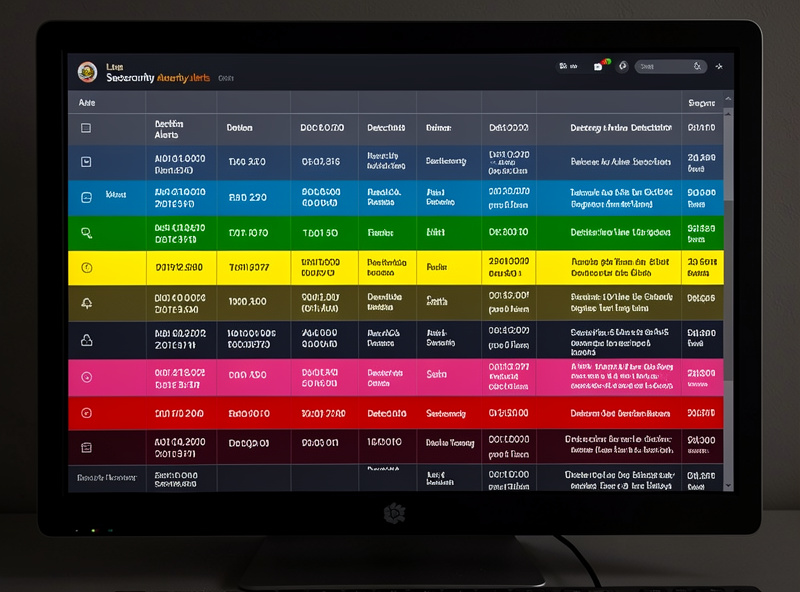
Leave Suricata in IDS (detection, not blocking) mode for the first run — under the interface settings, Block Offenders stays off. Start the service from the Interfaces tab and let it run. Within minutes the Alerts tab populates. Your job for the next couple of weeks is to watch, not to block: see what fires, identify which alerts are your own normal devices misbehaving in the eyes of a generic rule, and build a mental list of what to suppress. Only once a category has proven it doesn’t flag your legitimate traffic do you consider turning on Block Offenders for it.
Enabling blocking on day one is the classic mistake. The first time Suricata decides your smart TV’s firmware update looks like malware and kills the connection in IPS mode, the whole household notices, and you learn the hard way that prevention is a privilege a rule earns. Detection first, always.
What to do next
Installed and watching is the milestone, not the finish line. The next two jobs decide whether Suricata becomes a tool you use or a tab you ignore. First, tune it — suppress the signatures your known-good devices trip, disable categories that don’t apply, and get to a console quiet enough that every alert is worth a look. That process is in tuning IDS rules for home networks. Second, learn to read the output fast, which is its own skill covered in reading IDS logs for beginners.
If you’re weighing Suricata against the alternative engine before you commit, Suricata vs Snort for a home network lays out the tradeoff, and the whole layered picture — where the IDS sits alongside DNS filtering and reputation feeds — is in the home network intrusion detection guide. Worth saying clearly: Suricata is not a DNS blocker, so run pfBlockerNG alongside it, not instead of it.
Frequently Asked Questions
How do I install Suricata on pfSense?
Go to System then Package Manager, search for Suricata, and install it. Then under Services then Suricata, add an interface to watch (LAN side, not WAN), confirm HOME_NET covers your internal subnets, enable the Emerging Threats Open ruleset under Global Settings, download the rules, select sensible categories, and start the service in detection mode.
Which interface should Suricata watch on pfSense?
Watch a LAN-side interface or a specific VLAN, not the WAN. Inspecting the WAN fills your alerts with internet scan noise the firewall already drops. The LAN side shows what your own devices are doing. Note Suricata on the firewall cannot see traffic between two devices on the same VLAN.
Should I enable Block Offenders right away?
No. Run Suricata in detection mode with Block Offenders off for at least a couple of weeks first. Blocking on day one means a false positive will drop legitimate traffic, like a smart TV firmware update flagged as malware. Promote a rule category to blocking only after it has proven it does not flag your normal devices.
What rules should I use for a home network?
The free Emerging Threats Open ruleset is the sensible default for home use. It covers commodity malware, scanning, and known-bad infrastructure. Do not enable every category; start with malware, exploit, and scan categories and leave enterprise-protocol and server-specific rules off to avoid a flood of irrelevant alerts.
How much RAM does Suricata need on pfSense?
Plan for at least 8 GB on the firewall. Suricata keeps rule sets and flow tables in memory, so it is RAM-hungry, and inspection roughly doubles CPU load. A multi-core x86 appliance with adequate RAM handles gigabit home inspection comfortably; a low-RAM or single-core box will struggle.
Keep Building
- Home Network Intrusion Detection: The Complete Guide
- pfSense Suricata IDS/IPS Tutorial — the deeper production build
- Tuning IDS Rules for Home Networks
- Suricata vs Snort for a Home Network
- Reading IDS Logs for Beginners