
The Proxmox install itself takes twenty minutes — but the half-dozen things you do in the first hour after it boots are what separate a host that runs for years from one you reinstall in a month. This is that walkthrough: every screen, then the post-install steps the installer never prompts you for.
I’ve done this from-scratch install more times than I can count, on everything from a recycled office NUC to a purpose-built mini PC, and the screens never change — what changes is whether you know the three or four steps that actually matter. If you’re still deciding whether Proxmox is the right call, start with the Proxmox home server overview; this guide assumes you’re standing at the installer. For hardware, my homelab hardware guide covers what to put it on.
Before you boot: what you actually need
Three things. A USB stick (8GB is plenty) to write the official Proxmox VE ISO to. A machine to install it on — any 64-bit x86 box with virtualization extensions, which is everything from the last decade. And a plan for which drive is your boot drive and which (ideally separate) drive holds your VMs. That last decision is the one people skip and regret, so decide it now: small drive for Proxmox, separate drive or pool for VM storage.
Write the ISO to the USB stick with whatever imaging tool you like — the official one, or any tool that does a raw write. Then plug it into the target machine, get into the boot menu, and boot from USB. From here it’s a guided installer.
Walking through the installer
The Proxmox installer is refreshingly short. You accept the license, then you hit the first decision that matters: the target disk and filesystem. By default it’ll grab the first disk and format it ext4 with LVM. If you want ZFS-on-root — which gives you boot-environment snapshots and the option to mirror your boot drive across two disks — this is where you choose it, under the Options button. My take: if you have two boot drives and the RAM to spare, ZFS mirror on root is a lovely safety net. If you’re on a single drive and tight on RAM, ext4/LVM is leaner and perfectly fine. Don’t agonize — both work.
| Boot filesystem | ZFS-on-root | ext4 + LVM |
|---|---|---|
| Boot-drive redundancy | Mirror across two drives | None — single drive |
| Boot-environment snapshots | Yes — roll back a bad upgrade | No |
| RAM appetite | Higher — ZFS ARC wants memory | Lean |
| Best for | Two boot drives and RAM to spare | Single drive or a low-RAM box |
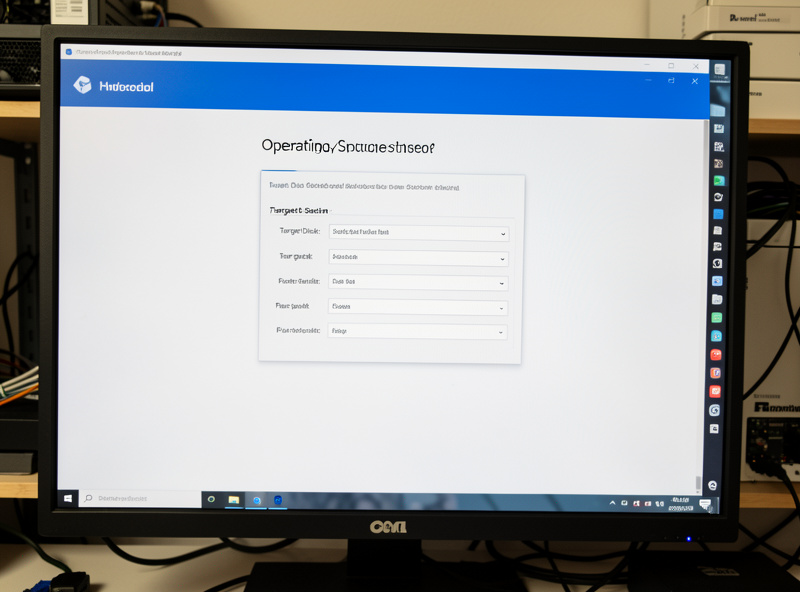
Next is location and timezone, then the root password and an admin email. Use a real password — this account has the keys to everything. The email is where Proxmox sends backup and health notifications, so put a real address.
The last screen is networking, and this is the one to get right. Set a static IP — not DHCP — because you do not want your hypervisor’s address moving around. Pick an address you’ve reserved or excluded from your DHCP scope, set the gateway and DNS, and give the host a hostname. Write that IP down. When the installer finishes and reboots, that IP plus port 8006 over HTTPS is your web interface. Pull the USB stick, let it reboot, and you’re in.
The first thing everyone hits: the subscription nag
Log into the web interface for the first time and Proxmox throws a popup about not having a valid subscription, and the enterprise package repository fails to update. This trips up every single new user, and it’s not a problem — it just means you’re on the free version, which is fully functional. The fix is to switch from the enterprise repo to the free no-subscription repository.
You do this in the web UI under each node’s repository settings: disable the enterprise repo and add the no-subscription one. After that, your updates pull from the free repo and everything works. This is the single most-Googled Proxmox issue and it’s a two-minute fix — it does not mean anything is broken. The paid subscription buys you the more conservative enterprise repo and official support; for a homelab, no-subscription is the normal, supported choice.
Once the repo is sorted, run a full update from the shell (apt update then apt dist-upgrade) and reboot. You’re now on current packages.
Post-install steps that actually matter
Here’s where experience pays off. The installer leaves you with a working hypervisor, but these are the things I do on every fresh host before I create a single VM.
Sort your storage layout. The default install creates a “local-lvm” pool on your boot drive. If you followed my advice and have a separate drive for VMs, add it as a dedicated storage pool now — ZFS or LVM-thin — and point new VM disks at it, not at the boot drive’s local-lvm. Getting this right before you build VMs saves you from migrating disks later. If you’re going the ZFS route, my ZFS basics guide covers the concepts that apply here too.
Make your bridge VLAN-aware. Even if you only use one network today, flip vmbr0 to VLAN-aware now. It costs nothing and means you won’t be re-editing every VM’s network config the day you decide to segment. If your network already runs VLANs — mine separates the lab, the IoT devices, and the management plane onto different tagged networks — this is non-negotiable. If you haven’t designed your segments yet, my home network VLAN guide covers the architecture first.
Set up notifications and updates. Make sure that admin email actually receives mail, so backup failures and disk-health warnings reach you. A host that’s silently failing its backups is worse than no backups, because you think you’re covered.
Decide your backup target before you depend on anything. You don’t need it running on day one, but know where backups will go — a separate machine, ideally — before you put real services on the host. A dedicated NAS is the classic target; my home NAS guide covers building one.
Your first VM or container
With storage and networking sorted, building your first guest is the fun part. Upload an ISO (for a VM) or pull a container template (for LXC) from the UI, click Create, and walk through the wizard. My advice for a first build: make it a throwaway. Spin up a small Debian LXC container, poke at it, then delete it. The point is to get comfortable with the create-snapshot-rollback-destroy cycle while nothing matters, so that when you build something you care about, the workflow is muscle memory.
The big early question — should this be a VM or a container? — comes up immediately, and the answer depends on the workload. The short version: the firewall and anything non-Linux gets a full VM, while the dozens of small Linux services run as lightweight containers. The main Proxmox guide links out to the full breakdown.
A sane order for everything after this
Once the host is installed and updated, the rest of the build has a natural sequence: storage pools first (moving VM disks later is painful), then bridge and VLAN networking so guests land on the right segments, then start building VMs and containers, then — before you rely on any of it — backups. The main Proxmox guide lays out that whole order with links to each step, and the homelab network builds overview shows where the host fits in the bigger picture. If you’re choosing the box itself, see how to choose hardware for a DIY build.
That’s a clean install done right. Twenty minutes of installer, an hour of sensible post-install steps, and you’ve got a foundation that’ll happily run a serious lab for years without you reinstalling it.
Frequently Asked Questions
How long does it take to install Proxmox?
The installation itself takes about 20 minutes from booting the USB stick to reaching the web interface. The post-install steps that actually matter — switching to the no-subscription repository, updating packages, setting up your storage layout, and making the bridge VLAN-aware — add maybe another hour, but they are what make the host reliable long term.
Why does Proxmox say I have no valid subscription?
That popup appears on every fresh install and simply means you are using the free version. It is not an error. Proxmox defaults to the paid enterprise package repository, which fails without a subscription. The fix is to disable the enterprise repository and enable the free no-subscription repository in each node’s repository settings, then run a full update. The no-subscription repo is the normal, fully functional choice for a homelab.
Should I choose ZFS or ext4 during the Proxmox install?
Choose ZFS-on-root if you have two boot drives to mirror and enough RAM to spare, because it gives you boot-environment snapshots and drive redundancy. Choose ext4 with LVM if you are on a single boot drive or tight on memory, since it is leaner. Both are valid and the choice here only affects the boot drive — your VM storage pool is a separate decision you make after install.
Do I need a static IP for Proxmox?
Yes. Set a static IP during the installer’s network screen rather than using DHCP. Your hypervisor’s address should never move, since the web interface, your VMs, and any remote access all depend on it staying put. Pick an address that is reserved or excluded from your DHCP scope so nothing else can claim it.
What should I do first after installing Proxmox?
In order: switch to the no-subscription repository and run a full update, set up a dedicated storage pool for VMs separate from the boot drive, make the vmbr0 bridge VLAN-aware even if you only use one network today, confirm your admin email receives notifications, and decide where backups will go. Doing these before you build any real VMs saves painful rework later.