
A Proxmox home server turns one mini PC into the spine of an entire homelab — firewall, NAS frontend, DNS, and a dozen self-hosted services as isolated VMs and containers on hardware that idles under 20 watts. I run Proxmox VE as the host the rest of my network hangs off. This is the guide I wish I’d had on day one.
After years of rebuilding it from scratch more times than I’d like to admit, I’ll show you how to size the hardware, install it, carve up storage and networking the right way, and avoid the three or four decisions that are painful to undo later. This is the platform layer — the install, the storage pools, the bridge networking, the backups. It’s deliberately separate from what you run on top (the self-hosted apps, the containers full of services). Get the platform right and everything above it becomes easy. Get it wrong and you’ll be reinstalling at 2am wondering why your VLAN-tagged VMs can’t reach the internet.
Why Proxmox for a home server at all?
The honest answer: because it’s free, it’s based on Debian, and it does the two things a homelab actually needs — full hardware virtualization (KVM) for VMs and lightweight OS-level virtualization (LXC) for containers — under one clean web interface. You’re not paying per-socket licensing, you’re not locked into a vendor’s hardware compatibility list, and when something breaks you’re debugging a Debian box, not a black-box appliance.
I came to Proxmox the way most people do: I had a firewall on dedicated hardware, a Pi running Pi-hole, an old NUC doing “something,” and a NAS in the corner. Four boxes, four power bricks, four things to update. Consolidating the lab onto a single Proxmox host didn’t just save power and shelf space — it gave me snapshots, backups, and the ability to spin up a throwaway VM to test something risky and roll it back in thirty seconds. That last part is the real superpower. On bare metal, a bad upgrade is a Saturday. On Proxmox, it’s a rollback.
The trade-off you accept is a single point of failure. One host means one box that, if it dies, takes the whole lab with it. I’ve made my peace with that for a home environment — proper backups (covered below) turn “the host died” from a disaster into an afternoon of restoring from the backup server. If you genuinely can’t tolerate downtime, you’re into clustering and high availability, which is past where most home setups need to go. For one host doing a lot, Proxmox is the right tool.
There’s a quieter benefit too: a single low-power host running ten things draws far less power than ten separate boxes, and in a country where electricity isn’t cheap that adds up over a year. My consolidated host idles at a fraction of what the pile of separate devices it replaced used to pull, and it’s one fan, one UPS outlet, one thing to keep cool. The homelab gospel of “more boxes” is fun, but consolidation onto a capable hypervisor is genuinely the more grown-up answer for most people — you get more capability, less clutter, and a lower power bill all at once.
Hardware: what actually matters (and what doesn’t)
People agonize over Proxmox hardware far more than they need to. Proxmox itself is light. The weight comes from what you stack on top of it. Here’s how I size a host, in priority order.
CPU cores over clock speed. Virtualization is an embarrassingly parallel problem — more cores means more VMs and containers running comfortably side by side. A modern Intel N100 or N305 mini PC handles a firewall VM, Pi-hole, a reverse proxy, and a handful of LXC services without breaking a sweat, and it does it at single-digit idle watts. If you’re going to run a media transcoder or a Windows VM, step up to something with more cores and a real iGPU. My rule: count the VMs you want, give each one or two vCPUs, and don’t oversubscribe more than about 3:1 on a home box.
RAM is where you’ll actually run out. This is the resource that bites first. VMs reserve their RAM; LXC containers share it more gracefully, but it still adds up. I tell people to start at 16GB if they’re only running containers, and 32GB the moment they want more than one or two full VMs. If you’re going to run ZFS as your storage layer — and you probably should — ZFS’s ARC cache wants RAM too. ECC RAM is the one “nice to have” I’d argue is closer to “should have” on a box that holds your only copy of anything: it catches the silent bit-flips that ZFS otherwise can’t fix. It’s not mandatory for a home lab, but if your platform supports it, take it.
Storage: split your boot from your data. The single best hardware decision you can make is a small, cheap NVMe drive for Proxmox itself and a separate drive (or pool of drives) for your VM disks and data. Don’t install Proxmox onto the same consumer SSD you’re hammering with VM writes — Proxmox and ZFS write logs and metadata constantly, and a cheap drive with no power-loss protection wears out faster than you’d expect. I run the OS on a modest NVMe and keep VM storage on a separate NVMe pool with enterprise-class endurance for anything that matters.
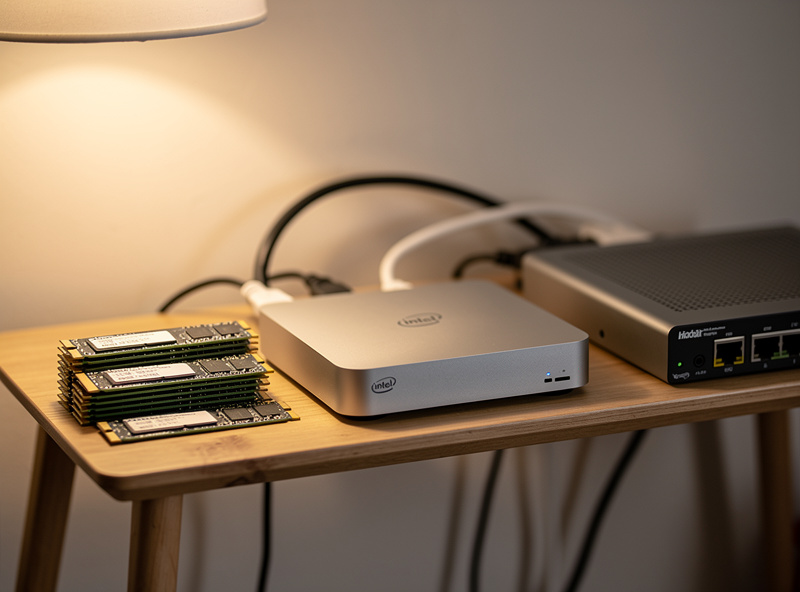
Networking: one NIC works, two unlocks the good stuff. A single gigabit NIC is fine to start. But if you want to virtualize your firewall, or you want a clean separation between management traffic and VM traffic, a multi-port NIC changes everything. A 2.5G NIC (or a quad-port i226-class card) lets you pass dedicated ports to specific VMs and gives you headroom when the NAS and the VMs start moving real data — and if you’re going further, my 10GbE DIY build covers the faster end. This is the detail I see skipped most often, and it’s the one I’d plan for from the start.
If you’re still choosing a box, my hardware deep-dives cover the exact mini PCs and components I’d buy: see my guide to the best DIY router and homelab hardware, the best mini PCs, the Topton N100 box I’ve run hard, and the fanless Protectli Vault. Everything there about CPU, NICs, and form factor applies directly to a Proxmox host. And put the whole thing on a UPS — a host running ten services is exactly what you don’t want hard-cutting on a power blip, which is why I cover UPS sizing for a home network separately.
Affiliate disclosure: some links below go to Amazon and I may earn a small commission if you buy through them, at no extra cost to you. I only point at gear I’d actually put in my own rack.
If I were spec’ing a host from nothing today, my shortlist would be a low-power x86 N100 mini PC with dual NICs, a stick or two of ECC SODIMM memory if the board supports it, and a separate endurance-rated NVMe SSD for VM storage. That’s a host that’ll run a serious lab for years.
Installing Proxmox: the install is the easy part
The actual installation is twenty minutes with a USB stick and the official ISO. You boot the installer, point it at your boot drive, set a static IP, and you’re at the web interface. The mistakes people make aren’t during the install — they’re decisions baked in by the installer that are annoying to change later. Pick your boot filesystem deliberately (ZFS-on-root gives you boot-environment rollback but wants more RAM; ext4/LVM is leaner). Set a static IP you’ve actually reserved. And know that the default install carves your whole boot drive into a “local-lvm” pool you may not want.
I’ve written the full from-scratch walkthrough — every screen, the post-install steps that actually matter, and the no-subscription repo fix everyone hits — in a dedicated Proxmox initial setup guide. The short version: pick your boot filesystem deliberately, reserve a static IP, and don’t let the installer dump everything onto one drive.
Proxmox vs the alternatives
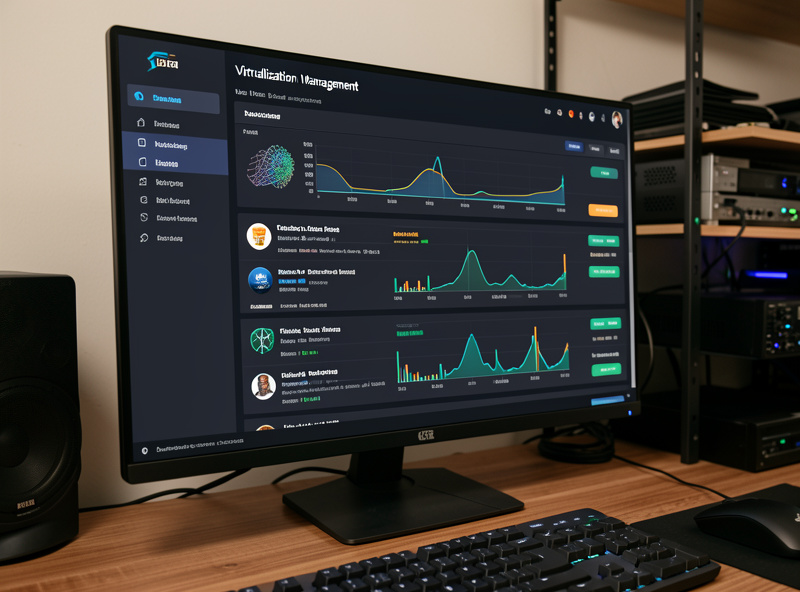
Proxmox isn’t the only hypervisor, and it’s worth a clear-eyed look at where it stands before you commit. The short version of how I’d choose:
| Platform | License / cost | VMs | Containers | Best for at home |
|---|---|---|---|---|
| Proxmox VE | Free (optional paid support) | KVM, full | LXC, native | The default homelab choice — VMs plus containers, snapshots, backups, Debian underneath |
| VMware ESXi | Paid (free tier ended) | Mature, polished | No native LXC | People with enterprise VMware skills to practice; otherwise overkill |
| XCP-ng | Free / open source | Xen-based, solid | No native LXC | Xen fans who want a polished free stack with Xen Orchestra |
| Plain Docker host | Free | None (containers only) | OCI containers | Pure services, no VMs — simpler but no VM isolation or snapshots |
| TrueNAS SCALE | Free | KVM (basic) | Apps / containers | NAS-first builds where virtualization is secondary |
The comparison I get asked about most is Proxmox vs VMware — and after running both, my verdict is that for a home lab Proxmox wins on cost, on native containers, and on not punishing you for using consumer hardware. There’s a full Proxmox vs VMware ESXi head-to-head worth reading, including the few places ESXi genuinely is the slicker product, but the headline is that the removal of the free ESXi tier plus Proxmox’s native containers settles it for most home labs.
VMs or LXC containers? You’ll use both
This is the first real architecture decision after install, and the answer is “both, for different jobs.” A VM is a full virtual machine with its own kernel — heavier, fully isolated, the right call for your firewall, anything that needs a different OS (Windows), or anything where you want hard separation. An LXC container shares the host kernel — far lighter, boots in a second, and is perfect for the dozens of small Linux services that make up a homelab. I run my firewall as a VM and almost everything else as containers.
The nuance that trips people up is around privileged versus unprivileged containers, GPU/device passthrough into LXC, and which workloads simply must be a VM. It’s worth working through exactly when to reach for an LXC container versus a VM, with the density and security trade-offs — but the rule of thumb holds: unprivileged containers for trusted Linux services, full VMs for the firewall, anything non-Linux, and anything you don’t trust.
Networking: the part that breaks first
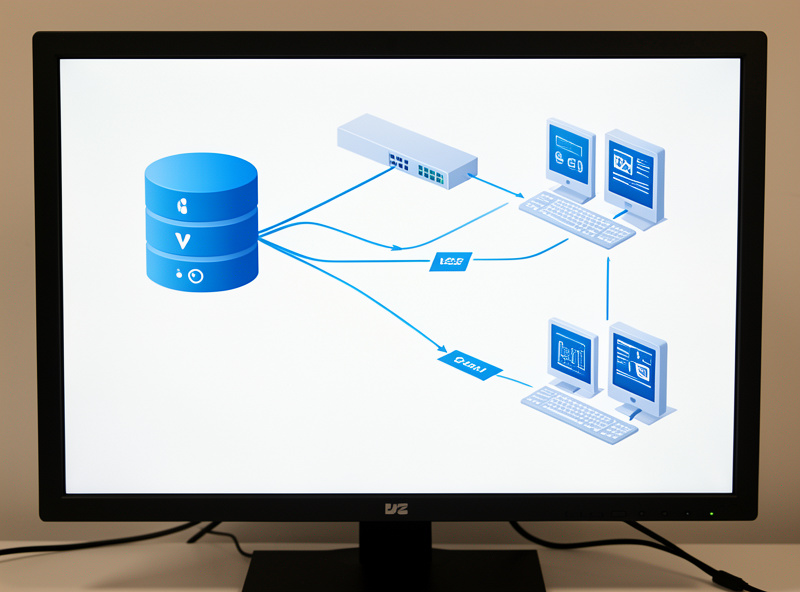
Proxmox networking confuses everyone at first because the host inserts a Linux bridge — vmbr0 — between your physical NIC and your VMs, and from then on your VMs talk to a virtual switch, not the wire directly. Once that clicks, everything else follows. The bridge is your virtual switch; VMs plug into it; and if you want VLANs, you make the bridge VLAN-aware and tag each VM’s virtual NIC.
One of the first VMs many people run on Proxmox is the firewall itself — virtualizing OPNsense (my OPNsense setup guide covers the bare-metal version, and the same config applies in a VM) with its own dedicated NIC. Because this network is segmented — the IoT devices, the lab, the kids’ gear, and the management plane are all on different VLANs through the rest of my rack — my Proxmox host has to speak the same language. The VMs land on the VLANs they belong to, tagged at the virtual NIC, trunked up to the managed switch. If you’re new to the VLAN side of this, don’t learn VLAN theory inside Proxmox; learn the architecture first from my home network VLAN guide, the inter-VLAN firewall rules that hold it together, the broader network segmentation strategy, and the managed switch setup on the trunk, then apply it to Proxmox. The Proxmox-specific bridge and VLAN config — making vmbr0 VLAN-aware, tagging each VM’s virtual NIC, trunking up to the managed switch, and laying out multiple NICs — is its own piece, but it all sits on top of the VLAN architecture those guides define.
Storage: ZFS, LVM, and where your VMs actually live
Storage is where Proxmox gives you the most rope, and the most ways to tie yourself up. The two layers that matter: ZFS gives you snapshots, checksums, and built-in data integrity at the cost of RAM; LVM-thin is leaner and simpler but lacks the bit-rot protection. For VM disks I lean ZFS on a host with enough RAM, because the snapshot-and-rollback workflow is exactly what makes a homelab safe to experiment on.
One trap worth flagging up front: people put their VM disks on a single big spinning disk and then wonder why everything feels sluggish. VMs are random-I/O machines — they want flash. I keep the VM pool on NVMe or SSD and reserve spinning rust for bulk, sequential data (media, backups, archives) where the latency doesn’t matter. Mixing the two on one slow disk is the single most common reason a homelab “feels slow” despite a perfectly capable CPU.
The decision tree — ZFS vs LVM-thin vs directory storage, mirror vs RAIDZ, where to put the boot drive versus the VM pool versus bulk data — is its own topic. It’s worth a deeper look at how to build the storage pools — ZFS vs LVM-thin — and the mistakes that cost performance — the headline being mirrors for the VM pool on flash, RAIDZ for bulk, and never the same cheap disk for both. If you’re building a separate dedicated NAS to back the host, my home NAS guide and ZFS basics pair directly with this.
Backups: the non-negotiable
I’ll be blunt: a Proxmox host without a backup strategy is a time bomb. The whole value proposition — consolidating everything onto one box — is also the risk. The good news is Proxmox makes backups genuinely easy. Built-in scheduled backups dump full VM and container snapshots to a storage target; Proxmox Backup Server adds deduplication and incremental backups so you can keep weeks of history without filling a drive.
My rule is simple: every VM and container that I’d be annoyed to rebuild gets a scheduled backup to a separate machine — not the same host, not the same drive. The full Proxmox VM backup strategy is worth its own read — Proxmox Backup Server for deduplicated incrementals, a sane retention policy, and what “3-2-1” actually means for a homelab. If you want the storage-redundancy side, RAID levels explained and my NAS network setup guide cover where those backups should live.
GPU passthrough: when you need the metal
For most homelab work you never touch a GPU. But the moment you want hardware-accelerated video transcoding, a Windows VM with a real graphics card, or anything that talks to the GPU directly, you’re into passthrough — handing a physical PCIe device straight to a single VM. It’s the most finicky thing in Proxmox: IOMMU groups, VFIO binding, and a BIOS that cooperates. When it works it’s magic; when it doesn’t it’s an evening of kernel parameters.
The working sequence is its own deep-dive — GPU passthrough in Proxmox: enabling IOMMU in BIOS and on the kernel command line, checking your IOMMU groups, and isolating the card with VFIO. Don’t start here on your first install; get the platform stable first, then add passthrough when you have a real reason. And if your goal is only video transcoding, do it in a container sharing the iGPU and skip passthrough entirely.
The mistakes I’d save you from
Every Proxmox host I’ve rebuilt taught me something the documentation buries. A few that are worth more than the rest:
Installing on a single consumer SSD and putting everything on it. The default “local-lvm” install lumps your OS and your VM storage onto one drive. It works until that cheap drive’s write endurance gives out — and it always gives out faster on a host that’s logging, snapshotting, and running ZFS metadata than the spec sheet implies. Separate the boot drive from the VM pool from the start.
Not making the bridge VLAN-aware before you build VMs. If you create a dozen VMs on a plain bridge and then realize you need VLAN tagging, you’re editing every VM’s network config retroactively. Make vmbr0 VLAN-aware on day one even if you only use one VLAN at first — it costs nothing and saves the rework.
Treating snapshots as backups. A ZFS snapshot on the same pool protects you from a bad change. It does not protect you from a dead drive, a dead host, or a fat-fingered zpool destroy. Snapshots are convenience; a backup to separate hardware is insurance. You need both, and people conflate them constantly.
Oversubscribing RAM. CPU oversubscription is forgiving — the scheduler shares cores gracefully. RAM is not. Hand out more memory than you physically have across your VMs and the box swaps, then crawls, then the OOM killer starts reaping things. Size RAM to the sum of what your VMs actually reserve, with headroom for ZFS.
None of these are exotic. They’re the boring, structural decisions that are cheap to get right at install time and expensive to fix once the lab is full of running services.
Putting it together: a sane build order
If you’re starting from scratch, here’s the order I’d actually do it in. First, install and do the post-install basics (no-subscription repo, updates, a static IP). Second, get your storage pools right before you create a single VM, because moving disks later is a pain. Third, sort bridge and VLAN networking so your VMs land on the correct segments. Fourth, decide VM vs LXC per service and start building. Fifth — before you depend on any of it — set up backups to separate hardware. GPU passthrough comes last, only if you need it. Each of those steps has its own detailed guide in this cluster.
That’s the whole platform. It’s the foundation my entire segmented network — the firewall, the DNS, the lab services, the bridge to every hobby VLAN in the rack — sits on top of. Build it deliberately once and it’ll run for years. For the broader picture of where this fits, see my homelab network builds, basic to full stack and how to choose hardware for a DIY box.
Frequently Asked Questions
What hardware do I need for a Proxmox home server?
At minimum, a low-power x86 mini PC with a modern multi-core CPU (an Intel N100 or N305 is plenty for a starter lab), 16GB of RAM (32GB if you want full VMs or ZFS), a small NVMe drive for the Proxmox OS, and a separate drive for VM storage. Two network ports and ECC RAM are the upgrades that pay off most. You do not need server-grade hardware to start, but splitting the boot drive from your VM storage is the one decision worth getting right from day one.
Is Proxmox free for home use?
Yes. Proxmox VE is free and open source with no feature restrictions for home use. There is an optional paid subscription that provides access to the stable enterprise repository and official support, but the free no-subscription repository works perfectly well for a homelab. The only thing you do after installing is point it at the no-subscription repo, which is a two-minute fix every new user makes.
Should I use VMs or LXC containers in Proxmox?
Both, for different jobs. Use a VM for your firewall, anything that needs a non-Linux OS like Windows, or any workload where you want hard kernel-level isolation. Use lightweight LXC containers for the many small Linux services that make up a homelab, since they boot in a second and use far less RAM. A typical home host runs the firewall as a VM and almost everything else as containers.
How much RAM does a Proxmox host actually use?
Proxmox itself is light, using roughly 1 to 2GB. The real consumption comes from your VMs and containers, plus ZFS if you use it, since ZFS caches aggressively in RAM. Plan for the workloads, not the hypervisor: 16GB comfortably runs a container-only lab, while 32GB is the sensible floor once you add a couple of full VMs or run ZFS as your storage layer.
Can one Proxmox box run my firewall and my other services together?
Yes, and consolidating them is a big reason to run Proxmox. You virtualize the firewall as a VM with its own dedicated physical NIC passed through or bridged, and run everything else alongside it. The key is networking discipline: keep management traffic, VM traffic, and your VLANs cleanly separated using a VLAN-aware bridge so the firewall VM sees the trunk correctly. A two-port NIC makes this far cleaner than trying to share a single port.
What happens if my Proxmox host dies?
With a single host, a hardware failure takes everything offline until you restore it, which is exactly why backups are non-negotiable. If you back up every VM and container to a separate machine using built-in backups or Proxmox Backup Server, a dead host becomes an afternoon of restoring rather than a disaster. For true zero-downtime you would cluster multiple hosts with high availability, but for most home setups, solid backups to separate hardware are the right level of protection.