
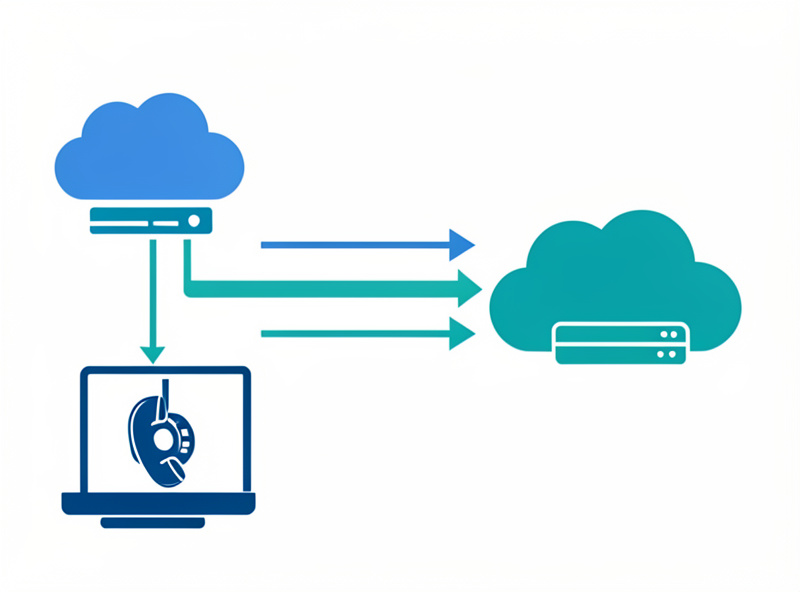
You can reach home services from anywhere while stuck behind CGNAT, with no public IP and no port forwarding, by making your network dial outward to a rendezvous point that does have a public address. CGNAT blocks unsolicited inbound traffic but allows outbound connections freely, so a daemon at home connects out and inbound traffic rides back down that established link. The three workhorse methods are a Cloudflare Tunnel, WireGuard to a cheap VPS, and an overlay network like Tailscale.
This is the approach that actually gets most homelabbers reachable, because it ignores the ISP entirely. On my own network I run more than one of these side by side — an overlay for private device access, a reverse proxy for the handful of services I expose publicly, and WireGuard for getting into the management plane. This guide breaks down each method, what it is good at, and how to choose. It is the practical sequel to the main reachability guide; if you have not yet confirmed CGNAT, do that first with how to tell if you’re behind CGNAT.
Why Outbound Tunnels Beat CGNAT
Every method here exploits the same asymmetry: CGNAT permits outbound connections but drops unsolicited inbound. So instead of waiting for traffic to arrive, your home network initiates a persistent outbound connection to a machine with a real public IP. That machine becomes the front door, and your services answer through the tunnel the home end already opened.
Once you internalize that, the whole problem changes shape. You are no longer trying to open a port on hardware you do not control — you are renting or borrowing a public address somewhere else and stitching it to your home network with an encrypted tunnel. The rendezvous can be Cloudflare’s global edge, a $5 virtual server in a datacenter, or an overlay coordinator that helps your own devices find each other. In all cases the home side dials out, the carrier NAT happily allows it because it looks like ordinary outbound traffic, and reachability is restored without a single inbound port. The methods differ mainly in who owns the public endpoint, what protocols they carry, and whether the result is public to the world or private to you.
Method 1: Cloudflare Tunnel
Cloudflare Tunnel runs a small daemon called cloudflared on a machine at home that connects out to Cloudflare’s edge; Cloudflare’s Tunnel documentation details the cloudflared install and config. You map a hostname to an internal service, and it becomes reachable over HTTPS with no open ports and no public IP. The free tier covers a great deal of home use, which makes it the lowest-friction option for web apps and dashboards.
The appeal is that Cloudflare provides the public endpoint, the TLS certificate, and DDoS protection, and you provide nothing but an outbound connection and a domain on Cloudflare. It is excellent for self-hosted web UIs — a dashboard, a wiki, a photo gallery — that you want reachable by hostname over HTTPS. The important limitation to know upfront: Cloudflare’s terms restrict using the proxy to serve large volumes of non-HTML content like big video files or general file hosting, so it is the wrong tool for a media-streaming server you hammer from outside. It is also HTTP(S)-oriented; arbitrary TCP/UDP is possible but more involved than the web case. For pure web exposure with minimal effort, though, it is hard to beat, and I compare it head-to-head with the VPS approach in Cloudflare Tunnel vs a VPS reverse proxy.
Method 2: WireGuard to a VPS
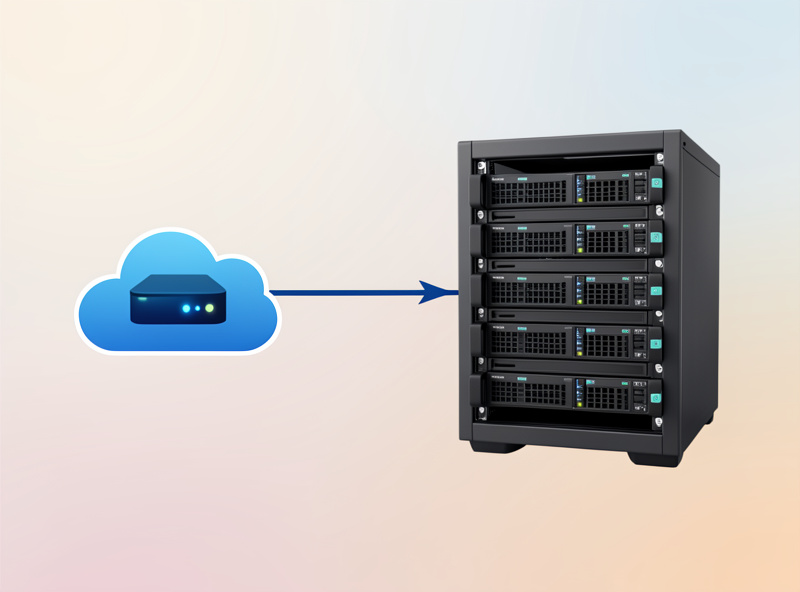
Renting a small VPS — roughly $4 to $6 a month — gives you a public IP you fully control. You establish a WireGuard tunnel from your home network to the VPS, then forward ports on the VPS down the tunnel to your home services. Because it is a raw encrypted link, it carries any protocol, not just web traffic, which makes it the most flexible CGNAT bypass.
This is my preferred approach when I need something Cloudflare’s web-centric model does not cover — a game server, a non-HTTP service, or full control over the public endpoint. The mechanics: WireGuard establishes a fast, modern encrypted tunnel between a home host and the VPS; the VPS has a public IP, so you configure it to forward the ports you care about across the tunnel to the home end. The home side dialed out to bring the tunnel up, so CGNAT never gets in the way. You own the whole path, you can run any protocol over it, and the only recurring cost is the cheap VPS. WireGuard itself is lightweight and I walk through it in WireGuard vs OpenVPN for home use and the OPNsense WireGuard tutorial. Pair it with a reverse proxy on the VPS when you want clean hostnames and TLS for multiple services.
Method 3: Overlay Networks (Tailscale / Headscale)
An overlay network like Tailscale builds a private encrypted mesh directly between your devices using WireGuard under the hood, with a coordination service that helps them find each other through NAT. It exposes nothing to the public internet — only your enrolled devices can reach the lab — making it the safest option when “anywhere access” really means you and your own machines, not the world.
For remote access to your own network — reaching the NAS, a dashboard, or SSH from your laptop or phone — an overlay is often the right answer and the least risky. There is no public endpoint to attack because nothing is published; your devices simply join a private mesh and talk to each other as if on the same LAN, with traffic relayed through coordination servers only when a direct path cannot be punched. Tailscale’s free tier is generous, and if you would rather not depend on their coordination service you can self-host the open-source Headscale control server instead. I cover both in the Tailscale and Headscale setup guide. The trade-off versus a tunnel or reverse proxy is that an overlay is for private access by devices you enroll, not for publishing a service to anonymous visitors.
Method 4: Reverse Proxy on a VPS
When a service must be genuinely public — reachable by anyone, not just your devices — run a reverse proxy on the VPS that has the public IP. The proxy accepts public connections, terminates TLS, and relays them down the WireGuard tunnel to your home service, while hiding your home’s real address. It is the natural pairing with Method 2 for hosting public sites and apps.
This is how you turn a raw VPS tunnel into a polished public front end. The reverse proxy — Nginx, Caddy, or Traefik — sits on the public side, handles certificates, routes hostnames to the right backend, and can add authentication before anything reaches home. Your home services never face the internet directly; they only answer requests that arrived through the proxy and the tunnel. I run Nginx in this role for what I expose, and the choice of proxy software for home use is covered in reverse proxy setup: Nginx Proxy Manager vs Traefik, with the broader stack in the self-hosting guide.
Choosing a Method
| Method | Public or private? | Protocols | Cost | Best for |
|---|---|---|---|---|
| Cloudflare Tunnel | Public | HTTP(S) mainly | Free tier | Web apps and dashboards, fastest setup |
| WireGuard to a VPS | Either | Any TCP/UDP | ~$4–6/mo VPS | Any protocol, game/media servers, full control |
| Overlay (Tailscale/Headscale) | Private | Any (between your devices) | Free tier / self-host | Private access for you and trusted devices |
| Reverse proxy on a VPS | Public | HTTP(S) + more | ~$4–6/mo VPS | Multiple public services with clean hostnames |
Security: Expose Only What You Mean To
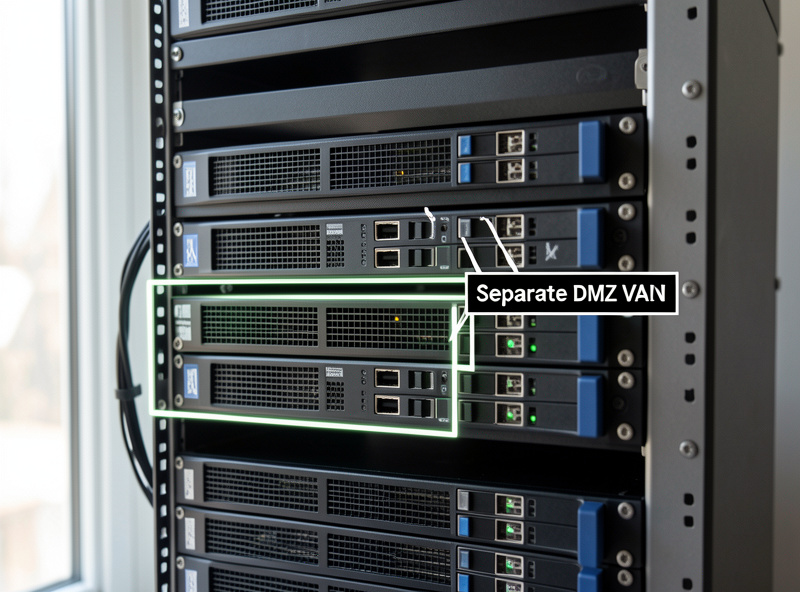
Every public endpoint is an attack surface, so expose the minimum. Put internet-facing services on an isolated VLAN with default-deny rules so a compromised service cannot reach the rest of the network, terminate TLS and add authentication at the proxy, and prefer a private overlay whenever you do not actually need anonymous public access. Reachability without segmentation is a liability.
On my network anything internet-facing lives on the LAB/DMZ segment, walled off from the trust LAN by default-deny firewall rules, so even a fully compromised public service has nowhere to pivot. That separation is the part people skip in their rush to “just make it reachable,” and it is the part that matters most. If you have not built it, the home network VLAN guide and OPNsense firewall rules are the prerequisites. And once a method is live, confirm it actually works — and that nothing unintended is open — from outside your network using testing inbound reachability.
Frequently Asked Questions
Can I host services behind CGNAT without a public IP?
Yes. Because CGNAT allows outbound connections, a daemon at home can dial a public rendezvous such as Cloudflare’s edge or a rented VPS, and inbound traffic rides back down that tunnel. A Cloudflare Tunnel, WireGuard to a VPS, or an overlay like Tailscale all work with no public IP and no port forwarding.
Is Cloudflare Tunnel or a VPS better for bypassing CGNAT?
Cloudflare Tunnel is fastest for web apps and dashboards over HTTPS and has a free tier, but it is restricted from serving large non-HTML files. A VPS with WireGuard costs a few dollars a month but carries any protocol and gives you full control, making it better for game servers, media, and non-web services.
Does Tailscale work behind CGNAT?
Yes. Tailscale and the self-hosted Headscale build a private WireGuard mesh between your devices and use a coordination service to traverse NAT, including CGNAT. Nothing is exposed to the public internet, so it is ideal for reaching your own network from your own devices rather than publishing a service.
How much does a VPS for CGNAT bypass cost?
A small VPS suitable for a WireGuard endpoint and reverse proxy typically runs about $4 to $6 per month from budget providers. That is enough to relay home services, since the heavy lifting stays on your home hardware and the VPS only forwards traffic across the tunnel.
Is bypassing CGNAT with a tunnel secure?
It can be, if you segment properly. Put internet-facing services on an isolated VLAN with default-deny rules, terminate TLS and add authentication at the reverse proxy, and use a private overlay when you do not need anonymous public access. The tunnel itself is encrypted, but exposing a service still creates an attack surface to defend.
Related Guides
- CGNAT & Double NAT: How to Get Your Home Network Reachable
- Cloudflare Tunnel vs a VPS Reverse Proxy for Exposing Home Services
- How to Tell If You’re Behind CGNAT and Why Your Port Forwards Silently Fail
- How to Get a Static or Public IP From Your ISP and the Alternatives
- WireGuard vs OpenVPN for Home Use
- Tailscale and Headscale Setup Guide for a Home Network