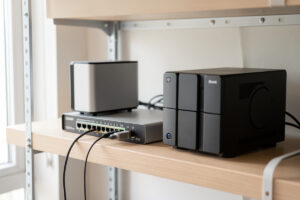
Self-hosting means running the apps you depend on — photos, files, media, home automation, password vaults — on hardware you own instead of renting them as someone else’s cloud subscription. On my own rack a single Proxmox host runs roughly a dozen self-hosted services across four VLANs, and the electricity costs less per month than the three SaaS subscriptions they replaced.
I have been running this stack for years, and the honest version is that self-hosting is less about any single “best” app and more about the order you build things in: a host to run services on, a network that segments them, storage that survives a dead disk, a reverse proxy so you stop memorising port numbers, and a way in from outside that does not punch a hole in your firewall. This guide is the map I wish I had when I started — what each layer does, which decisions matter, and the failure modes the influencer videos skip.
What Self-Hosting Actually Means (And What It Doesn’t)
Self-hosting is taking a service that normally lives in a vendor’s cloud and running the same software on your own machine, reachable on your own network. A typical home stack runs 8–15 services on one mini PC or repurposed desktop drawing 25–60 watts — a fraction of the cost and none of the data leaving your LAN.
It is not “build your own Google,” and it is not free. You trade a monthly bill for time, electricity, and the responsibility of being your own admin. What you get back is control: your photos are not training a model, your files are not one billing dispute away from being locked, and a price hike on someone else’s service is no longer your problem. The trade is real on both sides — I run self-hosted for the things I want to keep forever, and I happily pay for the handful of services where being my own sysadmin is not worth it. The skill that makes the whole thing tractable is the same instinct I use to divide a home network into zones: decide what each thing needs, give it exactly that, and nothing more.
The Foundation: A Host to Run Services On
Every self-hosted service needs something to run on, and the choice that scales best is a hypervisor rather than a single bare-metal OS. I run Proxmox VE as the spine of the whole network — it lets one physical box host isolated VMs and lightweight LXC containers, so a service that breaks takes down only itself.
You do not have to start there. A Raspberry Pi 5 or a $150 N100 mini PC running plain Docker will host a dozen services happily. But the moment you want to snapshot before an upgrade, roll back a broken update in ten seconds, or keep your reverse proxy isolated from your media server, a hypervisor earns its keep. The practical path most people take is: start on one mini PC with Docker, learn the apps, then graduate to Proxmox when you outgrow a single box. I cover the full platform build in the Proxmox homelab setup guide, and the VM-versus-container decision in LXC containers vs VMs.
Containers: Why Docker Is the Default
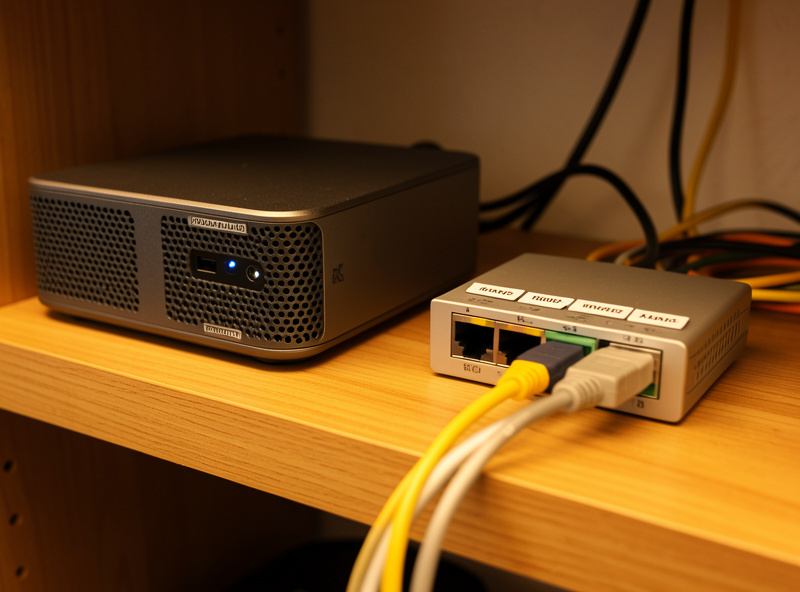
Almost every self-hosted app today ships as a Docker container, and that is the single biggest reason self-hosting got easy. A container bundles the app and all its dependencies into one image, so “install Nextcloud” becomes one config file instead of an afternoon of fighting PHP versions.
The mental model that unlocks it: an image is the recipe, a container is the running dish, a volume is where your data lives so it survives a rebuild, and a network is how containers talk to each other. Get those four concepts and 90% of self-hosting documentation suddenly makes sense. Docker Compose — a single YAML file describing your stack — is how I run everything; one docker compose up -d brings a whole service online, and the file doubles as documentation of exactly how it is configured. If you are starting from zero, read Docker basics for self-hosting before anything else — it is the layer everything else sits on.
Storage: Where Your Data Actually Lives
The services are disposable; the data is not. A self-hosted stack needs storage that survives a single dead disk and gets backed up off the box, which is why a NAS — network-attached storage with redundancy — sits underneath most serious setups. In my lab the NAS lives on its own VLAN and quietly holds backups, media, and Proxmox VM storage.
You can run a self-hosted stack off the mini PC’s internal SSD, and many people do for a year. But a single SSD is a single point of failure, and the day it dies you learn the difference between “I have my data” and “I had my data.” A two-drive mirror is the minimum I would trust anything irreplaceable to. The NAS as a home server guide covers using the NAS itself as the service host, TrueNAS vs Unraid vs Synology picks the platform, and RAID levels explained covers redundancy. If you are building your own box, the DIY NAS build parts list and ZFS basics are where I would start. None of it matters without one rule: redundancy is not backup. RAID survives a dead disk; it does not survive a deleted folder, a ransomware hit, or a fire. Keep a copy off the machine.
The Network: Segment Your Services Like You Segment Devices
The same instinct that puts smart bulbs on their own VLAN applies to self-hosted services. Anything you expose to the internet, anything running code you did not write, belongs in a segment that cannot reach your trusted LAN if it gets popped. In my setup the lab and DMZ are separate trust zones with default-deny rules between them.
This is where home networking and self-hosting are the same hobby wearing different hats. The hydro lab, the welder-bench sensors, the kids’ consoles, and the self-hosted service stack are genuinely four different problems on the same router, and the answer to all four is segmentation. A public-facing service goes in a DMZ-style VLAN that can talk to the internet but not to my workstations; an internal-only service sits on the LAN; the IoT devices that integrate with home automation get their own caged segment. Start with the home network VLAN guide, lock down exposed gear the way I cage smart-home kit in VLAN for IoT, and write the rules that hold it together using default-deny firewall recipes. A managed switch is what makes tagged VLANs possible in the first place.
Reverse Proxy: Stop Memorising Port Numbers
Once you are running more than three or four services, accessing each one by IP:port becomes miserable, and exposing a dozen ports is a security mess. A reverse proxy fixes both: it sits in front of everything and routes photos.yourdomain.com or jellyfin.home.lan to the right container, handling HTTPS certificates automatically so every service gets a valid TLS lock for free.
This is the single upgrade that makes a homelab feel like a real platform instead of a pile of ports. Nginx Proxy Manager gives you a clean web UI and Let’s Encrypt certificates in a few clicks; Traefik auto-discovers containers and configures itself from labels, which is brilliant once your stack is in Docker Compose. I run a proxy in front of everything and have not typed a port number in a browser in years. The full head-to-head is in reverse proxy: NPM vs Traefik — pick NPM if you want a UI, Traefik if you want it to configure itself.
Remote Access: Reaching Your Stack From Outside
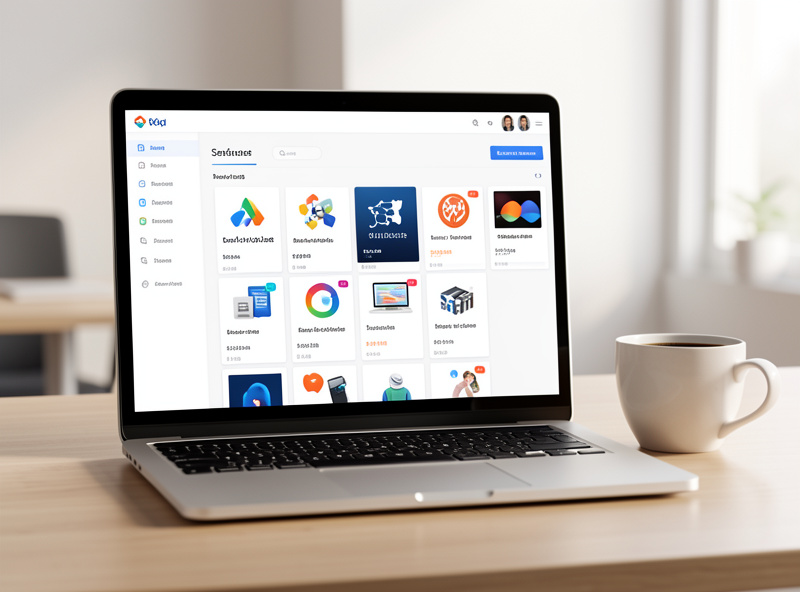
You will want to reach your services from your phone on mobile data, and the wrong way to do that is forwarding ports straight to a service. The right way is a VPN back into your own network — WireGuard or Tailscale — so the only thing exposed to the internet is one hardened, encrypted tunnel rather than a dozen login pages.
WireGuard is the modern standard: fast, lean, and built into the kernel. I run it on the firewall itself so a phone connects straight into the LAN with one tunnel, and from there everything is reachable as if I were home — full setup in the OPNsense WireGuard tutorial. Tailscale is the easier on-ramp: it is WireGuard underneath with the key exchange and NAT traversal handled for you, which matters enormously if your ISP put you behind CGNAT and you cannot port-forward at all. The rule I hold to: never expose a service’s login page directly to the internet when a tunnel will do. The handful of things that genuinely need public exposure go behind the reverse proxy with strong auth, and nothing else.
What People Actually Self-Host (The Service Layer)
With the foundation in place, the services are the fun part. The four categories that cover most homes are: files and photos (Nextcloud, Immich), media (Jellyfin or Plex), home automation (Home Assistant), and utilities (a password vault, a DNS ad-blocker, a dashboard). Most people start with one and add the rest over a year.
My advice is to start with the service that replaces the subscription that annoys you most. For a lot of people that is photo backup — Immich is a genuinely excellent self-hosted replacement for Google Photos. For others it is media: a Jellyfin or Plex media server turns your NAS into your own streaming service. Home Assistant is the hub that ties every smart device together locally, no cloud required. And network-wide ad-blocking with Pi-hole or AdGuard Home is the install that makes the rest of the household notice the difference. The full shortlist, ranked by how I would add them, is in best self-hosted apps 2026.
A Sensible Build Order
The most common mistake is starting with the flashy app and bolting the foundation on afterwards. The order that saves you re-doing everything is: host first, then storage, then network segmentation, then reverse proxy, then services, then remote access. Build the boring layers and the fun ones just slot in.
Here is how those layers stack up in practice — what each one is, the option I run, and the spoke that covers it in depth.
| Layer | What it does | What I run | Beginner-friendly alternative |
|---|---|---|---|
| Host / hypervisor | Runs your services in isolation | Proxmox VE on x86 | One N100 mini PC + Docker |
| Containers | Packages each app + dependencies | Docker + Compose | Docker + Compose (same) |
| Storage | Holds data, survives a dead disk | TrueNAS, ZFS mirror | Synology 2-bay |
| Network | Segments services into trust zones | OPNsense + VLANs | VLAN-aware consumer router |
| Reverse proxy | Clean hostnames + auto HTTPS | Traefik | Nginx Proxy Manager (UI) |
| Remote access | Reach the stack from outside | WireGuard on the firewall | Tailscale (handles CGNAT) |
The Hardware: Right-Sizing Without Overbuying
You do not need a server rack to self-host. The sweet spot for a first build is a fanless N100 or N305 mini PC with 16GB of RAM and a 500GB NVMe drive — roughly $150–250, drawing 10–15 watts idle, and capable of running a dozen containers without breaking a sweat. Add the NAS only when your data outgrows the internal SSD.
I deliberately run homelab-scale gear, not pretend-enterprise. A used enterprise server is loud, power-hungry, and overkill for a house, and it will dominate your electricity bill for capacity you never touch. The honest hierarchy is: Raspberry Pi to learn on, an N100 mini PC for a real first stack, a small Proxmox box when you want VMs and snapshots, and a dedicated NAS for storage. If you want to put a starter mini PC or a quiet UPS on the rack, you can find both with a quick search — N100 mini PCs and a small rack UPS are the two purchases I would not skip. As an Amazon Associate I earn from qualifying purchases.
Keeping It Running: Updates, Backups, Monitoring
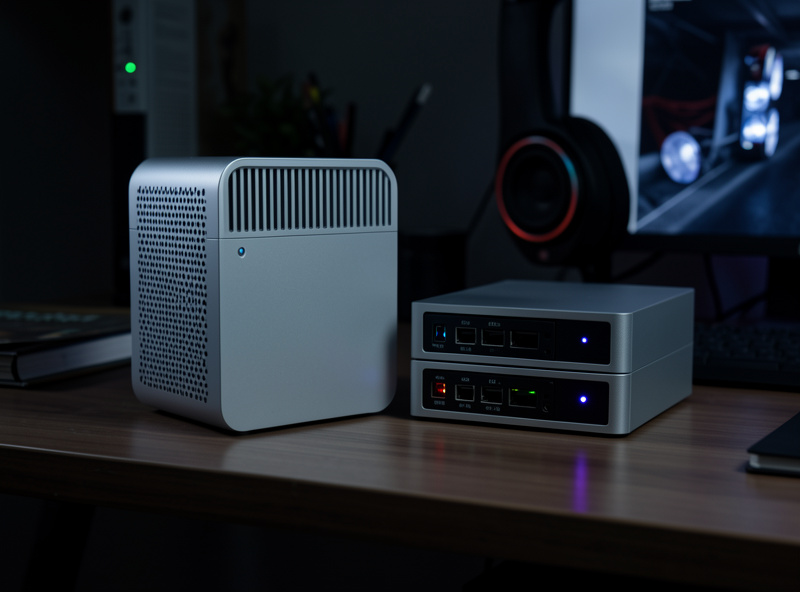
A self-hosted stack is a pet, not a toaster — it needs occasional care. The three habits that keep mine boring: snapshot before every update so a bad upgrade is a ten-second rollback, back up the data off the host on a schedule, and run a lightweight dashboard so you notice a full disk before it becomes an outage.
None of this needs enterprise tooling. Proxmox snapshots a VM in seconds; a scheduled job pushes config and data to the NAS and then off-site; and a single Grafana or Uptime Kuma dashboard tells me at a glance that everything is up. The failure that bites people is never the dramatic one — it is a disk filling silently, a certificate expiring, or a container that quietly stopped restarting. Watch those three and self-hosting stays a hobby instead of a second job. For network-level protection, pairing the stack with network-wide DNS filtering and a tested OPNsense firewall means the boundary is solid before you start poking holes in it for remote access.
Cloud vs Self-Hosted: An Honest Comparison
Self-hosting is not automatically better than the cloud — it is a different set of trade-offs. The cloud wins on convenience, uptime, and zero maintenance; self-hosting wins on cost over time, privacy, and control. The break-even point in my experience is around three subscriptions: replace that many and the hardware has paid for itself inside a year while your data stops leaving the house.
The part nobody mentions in the “ditch the cloud” videos is that you become the support team. When the photo app stops syncing at 11pm, there is no help desk — there is you, the logs, and a forum thread. I think that is a fair trade for the things I want to own forever, and a bad trade for the things I just want to work. So I split it deliberately: photos, files, home automation, media, and DNS are self-hosted because the data is mine and the privacy matters; a couple of genuinely hard problems stay as paid services because being my own sysadmin for them is not worth the evenings. Self-hosting maximalism — moving everything off the cloud as a point of pride — is how people burn out. Move the things that earn it, and keep the rest.
DNS and Naming Your Services
Once you have a handful of services, you want to reach them by name, not by IP. The clean way is a local DNS entry — jellyfin.home.lan instead of 192.168.20.10:8096 — resolved on your own network so the names work whether or not the internet is up. A local DNS resolver plus your reverse proxy is what turns a pile of containers into something that feels like a product.
I run Pi-hole and AdGuard Home as a redundant pair so name resolution and ad-blocking do not fall over when one is down for an update, with conditional forwarding so local names resolve locally and everything else goes upstream over encrypted DNS. Pair that with the reverse proxy and a real domain — even a cheap one used only internally — and you get valid HTTPS on tidy hostnames across the whole stack. This is also where self-hosting and home networking stop being separate hobbies: the same network-wide DNS filtering that blocks ads protects every device on the LAN, self-hosted or not.
Common Mistakes I See Beginners Make
The patterns that send people back to square one are predictable, and all of them are avoidable. The biggest is treating RAID as a backup, followed closely by exposing services straight to the internet, and storing data inside the container instead of in a named volume so a routine rebuild wipes everything.
The full list I warn people about: skipping the network segmentation step so a compromised public service can reach the family laptops; never testing a restore, so the “backups” turn out to be empty the day you need them; buying a loud used enterprise server that dominates the power bill for capacity that sits idle; and chasing a dozen apps in the first week instead of getting one running properly. The fix for every one of them is the same discipline that runs through this whole guide — build the boring foundation first, segment by default, and verify the safety net before you trust it. Self-hosting is not hard; it is just unforgiving of skipped steps, in exactly the way a well-segmented network is unforgiving of a missing firewall rule.
Frequently Asked Questions
Do I need to know Linux to start self-hosting?
Not much. Modern self-hosting runs on Docker Compose, where you edit a YAML config file and run one command. You will pick up basic Linux as you go, but you can host a dozen services knowing only how to edit a text file and copy-paste commands.
How much does a self-hosting setup cost to run?
A first build is around 150 to 250 dollars for an N100 mini PC, and it draws 10 to 15 watts idle, costing only a few dollars a month in electricity. That typically replaces several monthly subscriptions, so most stacks pay for themselves within a year.
Is self-hosting safe to expose to the internet?
Only when done carefully. Never forward a service port directly. Use a VPN like WireGuard or Tailscale for personal access, and put the rare public service behind a reverse proxy with strong authentication, on a segmented VLAN that cannot reach your trusted devices.
Should I start with Proxmox or just Docker?
Start with Docker on a single mini PC to learn the apps. Graduate to Proxmox when you want VM isolation, snapshots before upgrades, and the ability to run multiple operating systems on one box. Most people make the jump within their first year.
What is the single most important rule of self-hosting?
Redundancy is not backup. A RAID mirror survives a dead disk but not a deleted folder, ransomware, or a fire. Always keep at least one copy of irreplaceable data on a different machine, ideally off-site, before you trust the stack with anything you cannot lose.
What should my first self-hosted service be?
Pick the one replacing the subscription that annoys you most. For many people that is photo backup with Immich as a Google Photos replacement, or a Jellyfin media server. Network-wide ad-blocking with Pi-hole is the install the whole household notices.
Related Guides
- Docker Basics for Self-Hosting: The Beginner’s Path
- Proxmox Homelab Setup Guide: Your Self-Hosting Platform
- Best Self-Hosted Apps 2026: The Stack I’d Build
- Reverse Proxy Setup: Nginx Proxy Manager vs Traefik
- Self-Hosting Home Assistant: The Local Smart-Home Hub
- NAS as a Home Server: Turning Storage Into a Service Host
- Jellyfin vs Plex: Which Home Media Server to Run