
Proxmox VE is the free, open-source hypervisor that turns one physical box into the platform your entire self-hosted stack runs on — VMs and lightweight containers, snapshots before every change, and the ability to roll back a broken upgrade in seconds. It is the spine of my own network: one Proxmox host carries roughly a dozen services across isolated containers, and nothing I run touches bare metal directly.
This guide is specifically about setting Proxmox up as a self-hosting platform — the storage, network, and container decisions that matter once your goal is running services, not just kicking the tyres on virtualization. If you want the ground-up install and first-boot walkthrough, that lives in the Proxmox home server guide and the initial setup guide; this picks up where those leave off and points everything at the self-hosting goal.
Why Proxmox Beats Plain Docker on One Box
You can self-host on a single OS with Docker, and many people start there. Proxmox earns its place the moment you want isolation between services, snapshots before upgrades, and the freedom to run more than one operating system. It is a Debian-based hypervisor with a clean web UI that manages both full VMs and lightweight LXC containers on the same hardware.
The practical difference is blast radius. On a single Docker host, a kernel update or a misbehaving service affects everything. On Proxmox, my reverse proxy, my media stack, and my experimental projects live in separate containers or VMs — if I break one, the rest never notice. And because Proxmox snapshots a VM in seconds, “I’m about to upgrade this and it might break” stops being scary: snapshot, upgrade, and if it goes wrong, roll back to the exact state from thirty seconds ago. That safety net is the single biggest reason I run a hypervisor at home instead of a pile of services on one OS.
Right-Sizing the Hardware
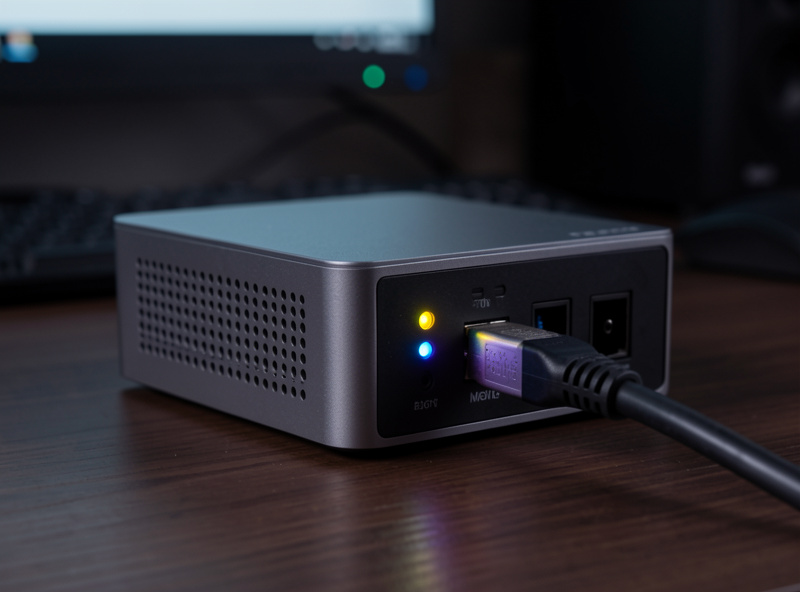
Proxmox is happy on modest hardware. A mini PC with an Intel N100 or N305, 16–32GB of RAM, and an NVMe boot drive will run a serious self-hosted stack while drawing 10–15 watts idle. The two things worth spending on are RAM, because VMs and ZFS both love it, and a second drive so your data is not on the boot disk.
I deliberately run homelab-scale, not pretend-enterprise. A used rack server gives you cores you will never saturate, fan noise you will hate, and a power bill that quietly erases the savings self-hosting was supposed to deliver. The honest tiers: a single mini PC for a first Proxmox box, 32GB of RAM if you intend to run a NAS VM alongside services, and a separate dedicated NAS once your storage outgrows what fits inside the mini PC. Start small; Proxmox scales up cleanly when you actually need it.
Storage: Plan This Before You Install Anything
The decision that bites people later is storage layout, and it is far easier to get right at install time than to fix afterwards. For a self-hosting box I want the OS on one drive and VM/container data on another, ideally a ZFS mirror so a single dead disk does not take the whole host down with it. Proxmox supports ZFS natively at install.
The trap is leaving everything on the single boot SSD because it is the path of least resistance. That works right up until the disk dies, at which point you lose the host and every service on it at once. A two-drive ZFS mirror turns a dead disk into a non-event — replace it, resilver, carry on. If you are new to ZFS, the concepts are worth twenty minutes: ZFS basics covers pools, vdevs, and the snapshots that make Proxmox so forgiving. And none of it removes the need for real backups off the host — ZFS protects against hardware failure, not against you deleting the wrong thing.
VMs or LXC Containers for Your Services?
Proxmox runs two kinds of guest, and choosing well keeps the host lean. LXC containers are lightweight and share the host kernel — ideal for a single Linux service that needs minimal overhead. Full VMs are heavier but completely isolated, the right choice for running Docker, a different OS, or anything you want fully sandboxed.
My own rule, after running both for years: a dedicated VM for the Docker host, LXC containers for standalone services that map cleanly to one container. Running Docker inside an LXC is possible and popular, but it adds a layer of “why is this permission weird” debugging that a clean VM avoids — so my whole containerized stack lives in one well-resourced VM, and the odd standalone service that does not need Docker gets its own tidy LXC. The full trade-off, with the cases where each wins, is in LXC containers vs VMs. Here is the short version side by side.
| Factor | LXC Container | Full VM |
|---|---|---|
| Overhead | Very low (shares kernel) | Higher (own kernel) |
| Isolation | Good | Complete |
| Best for | One standalone Linux service | Docker host, other OSes |
| Boot time | Seconds | Tens of seconds |
| Run Docker inside? | Possible, fiddly | Clean and recommended |
| Snapshots | Yes | Yes |
Networking: Bridges, VLANs, and Service Segments
Proxmox connects guests to your network through a virtual bridge, and the upgrade that makes it powerful is VLAN awareness. With a VLAN-aware bridge, I can drop each guest onto a specific VLAN — a public-facing service into a DMZ segment, an internal tool onto the trusted LAN — straight from the VM’s network settings, no extra hardware per service.
This is where the homelab and the network become one problem. The same VLAN architecture I use to separate IoT devices from workstations separates my self-hosted services by trust level. Anything exposed to the internet sits on a segment that cannot reach my trusted machines, enforced by default-deny firewall rules on the router. A managed switch carries the tagged VLANs to the Proxmox host over a trunk port. Get the bridge VLAN-aware at the start and assigning a new service to the right zone becomes a dropdown, not a re-architecture.
Backups and Snapshots: The Habit That Saves You
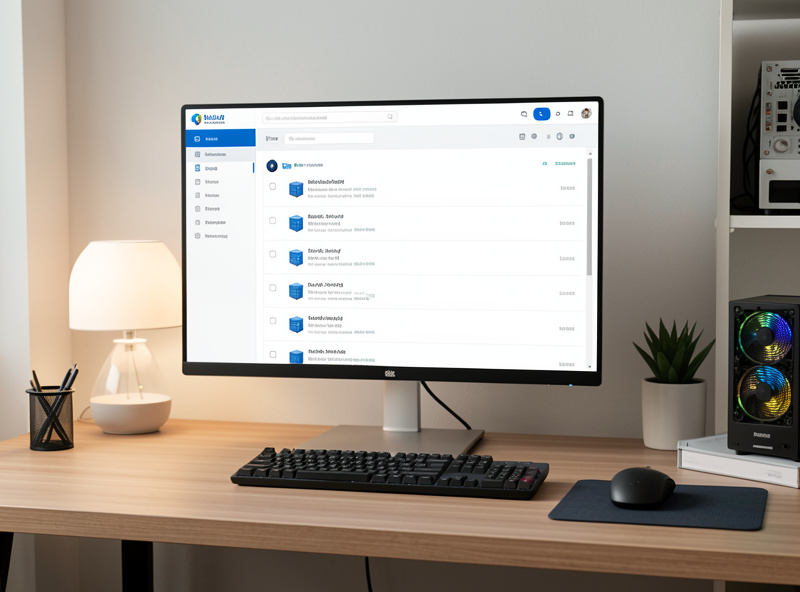
Proxmox has backup built in, and using it is the difference between a confident homelab and a fragile one. Scheduled backups push full VM and container images to a separate target — a NAS share or a Proxmox Backup Server — on a cadence you set, and a snapshot taken before any risky change is an instant, free undo button.
My routine is boring on purpose: a snapshot before every update, scheduled nightly backups of the important guests to the NAS, and a periodic copy off-site so a fire or theft does not take the only copy. The mistake to avoid is backing up to the same physical machine the VMs run on — that survives nothing. Backups go to a different box, full stop. With snapshots for quick rollbacks and real backups for disasters, Proxmox stops being something you are afraid to touch and becomes something you experiment on freely.
Remote Access to Your Proxmox Host
You will want to reach the Proxmox web UI and your services from outside, and the management interface is the last thing you ever expose to the internet directly. The right approach is a VPN into your own network — WireGuard on the firewall — so the management plane stays completely private and you reach it as if you were home.
In my setup the Proxmox management interface lives on a dedicated management VLAN that is not reachable from any other segment without an explicit rule, and certainly not from the internet. When I need in from outside, I connect over WireGuard first, which drops me onto the network, and from there the UI is just there. Never port-forward the Proxmox web interface; a hypervisor management plane exposed to the public internet is exactly the kind of target you do not want to be.
Setup Mistakes Worth Avoiding
A handful of decisions are painful to undo once the host is running, so it pays to get them right at install. The big ones: installing onto a single SSD with no redundancy, leaving the network bridge VLAN-unaware, putting backups on the same machine as the VMs, and over-provisioning RAM to guests so the host itself starves.
The subtler trap is resource sprawl — spinning up a VM for every idea until the host is juggling fifteen half-used guests and you have lost track of what each one does. I keep a short text file describing every guest, its purpose, its VLAN, and its backup status, so the host stays legible six months later. Proxmox makes it trivial to create guests; the discipline is deciding what deserves to exist. Treat the host as a deliberate platform, not a sandbox you keep adding to, and it stays fast and easy to reason about.
Where to Go Next
With Proxmox installed, storage mirrored, networking VLAN-aware, and backups scheduled, you have the platform — the rest is services. The natural next step is spinning up a Docker VM and learning the container workflow in Docker basics for self-hosting, then putting a reverse proxy in front of everything so your services get clean hostnames and automatic HTTPS. From there, the best self-hosted apps for 2026 is the shortlist I would work through, and the self-hosting guide ties the whole build order together. Build the platform once, properly, and every service you add afterwards is a ten-minute job instead of a weekend.
More Homelab Guides
- Self-Hosting Guide: Run Your Own Homelab Services
- Docker Basics for Self-Hosting
- LXC Containers vs VMs in Proxmox
- NAS as a Home Server
- Reverse Proxy: Nginx Proxy Manager vs Traefik